
How To Make A Store Locator
The easy way to create a beautiful custom store locator and embed it on your website.

In this article, we’ll demonstrate how you can make a store locator and embed it on your website.
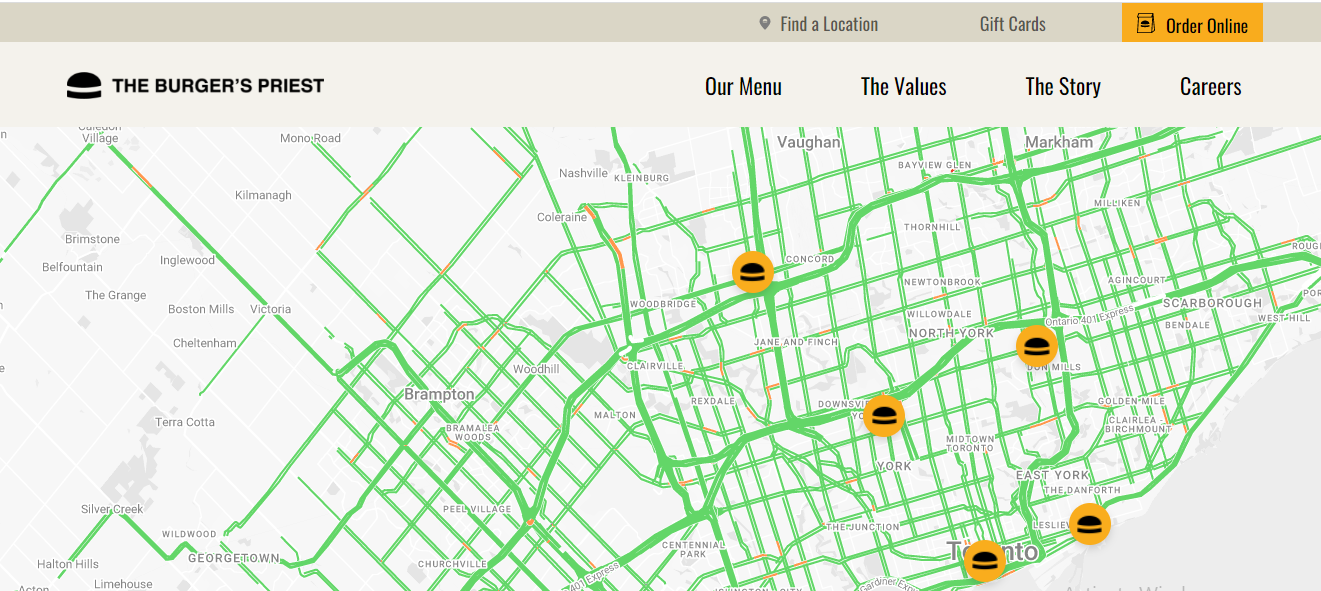
For the step-by-step demo, we’ll use the beginner-friendly yet highly customizable tool, Atlist, to make a store locator for The Burger’s Priest - a delicious burgers takeout spot in Toronto.
Let’s get some basics clear first, though, shall we?
What Is A Store Locator?
A store locator or a store finder is a feature designed to help users find a business's physical place(s) via markers/drop-pins on a map. These maps are typically embedded on the business’s website/app for convenience.
Though it’s called a “store locator,” any business with a physical location they want people to drive to can use it.
For example, Tesla has a “store locator” on its website to help its users find a nearby supercharger station.

How To Make A Store Locator?
Once your sign up with Atlist, follow these steps to make a beautiful, on-brand store locator:
Step 1: Create a new map
You’ll see a “New Map” button on the Atlist dashboard as soon as you enter. Click it to create a new map.
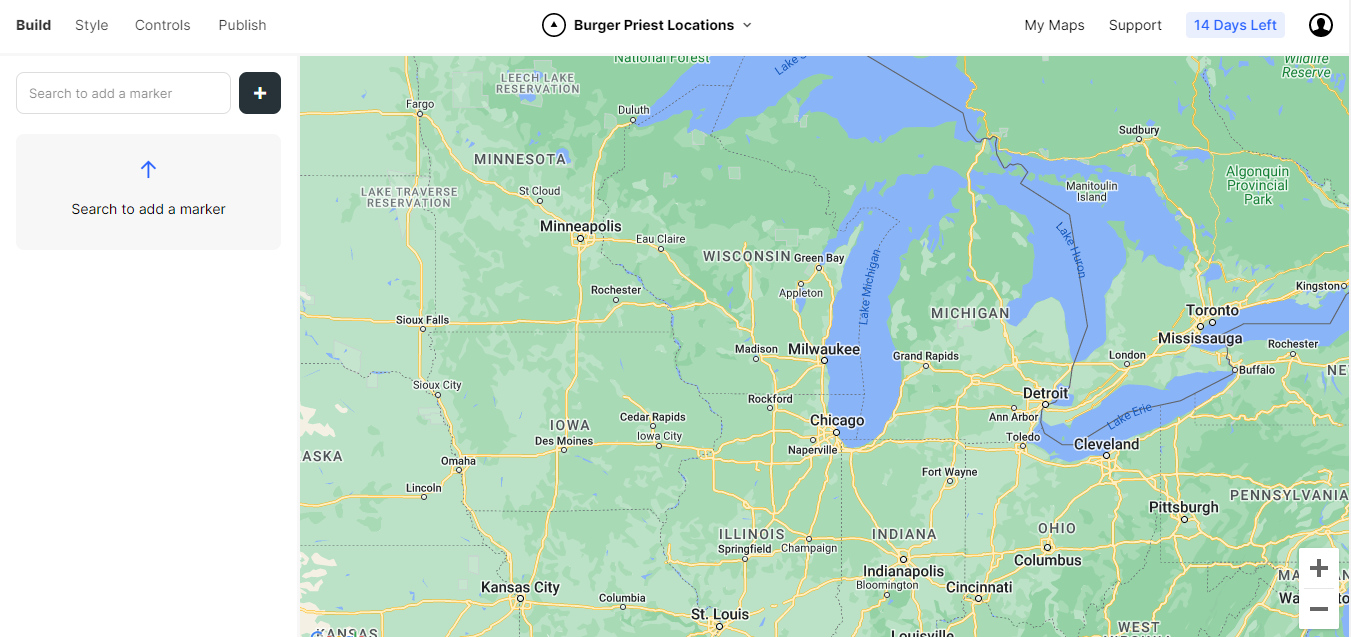
You’ll have an empty, untitled map on the screen. Rename it if you want to — for this example, I named it “The Burger’s Priest.”
Step 2: Add marker(s)
By default, the left sidebar will have the Build option open. You can add markers to your locations from there.
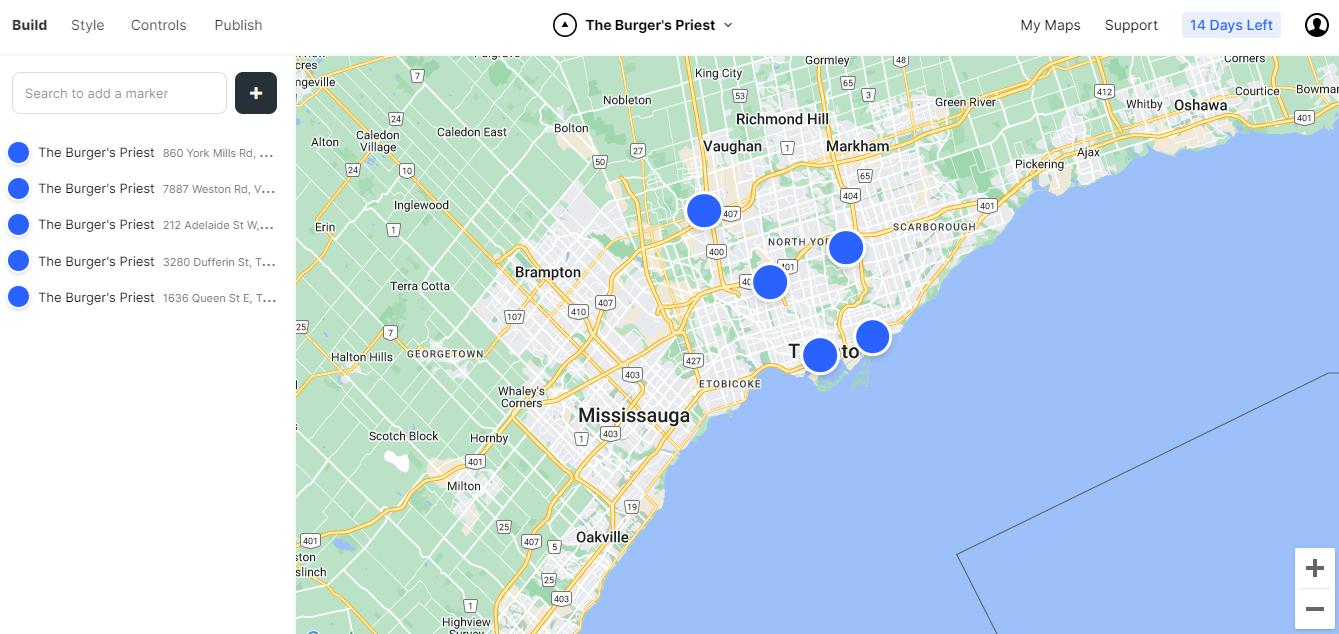
If your locations are already on Google Maps, you simply have to search them using the “Search to add a marker” search bar and add them one by one. You can even import a CSV file to bulk add all the locations.
Step 3: Add details for each marker
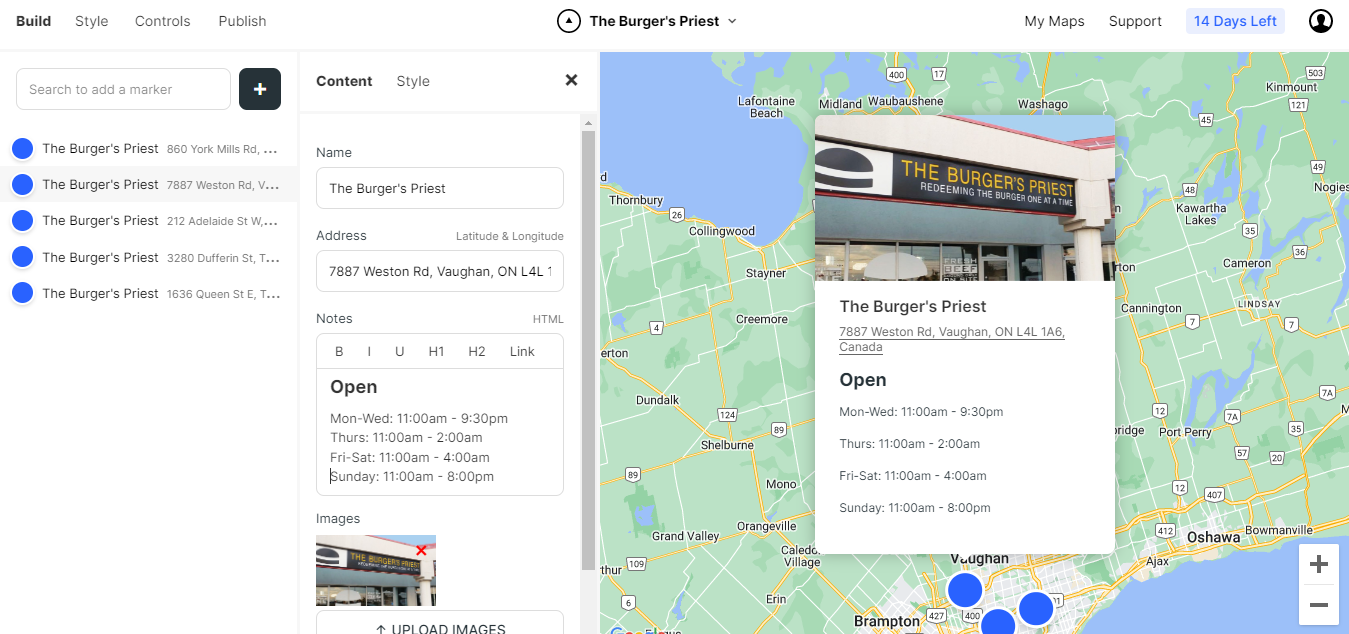
After you mark the locations, you can add a note and images for each location. Users will see them when they click on the marker.
For example, you can add open hours in the note and images of the place.
Step 4: Style
Styling the markers
The default markers are decent and get the job done, but they look out of place when embedded on the website. Therefore, you should style your markers to make them on-brand.
There are two ways to style the markers on Atlist:
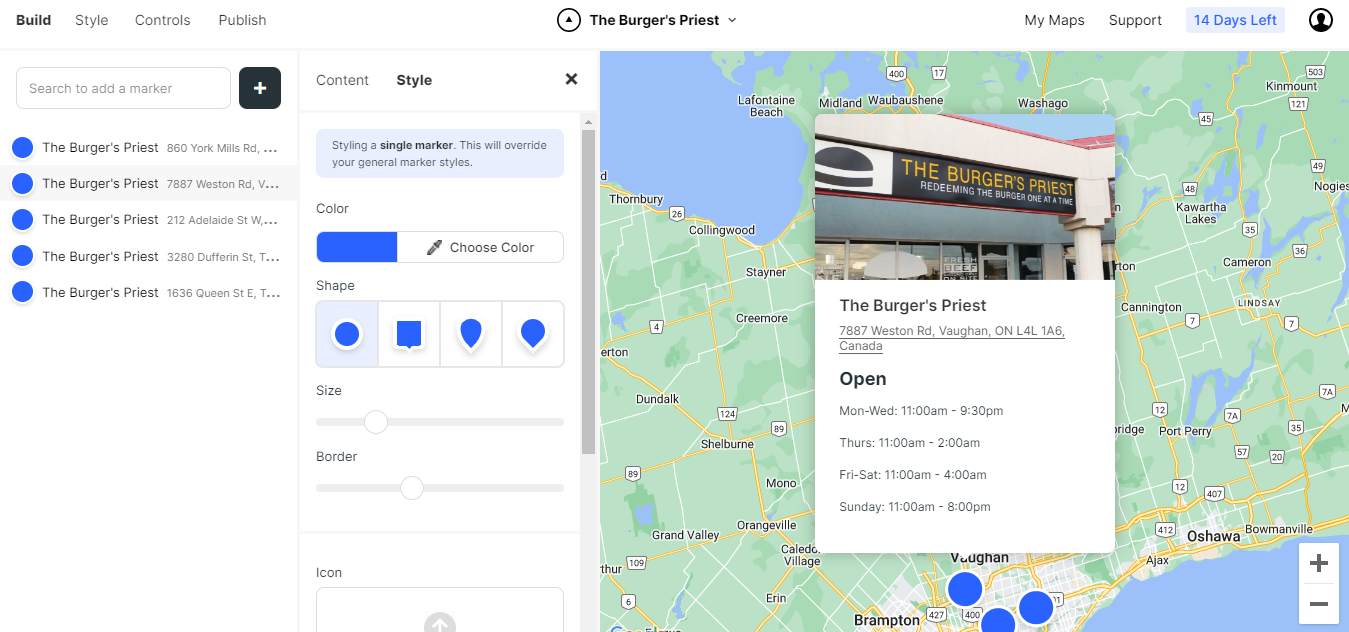
1. Style some of the markers
If you want to style individual markers or a group of markers, go to Build > Marker/Marker Group > Style.
2. Style all markers
To style all markers, choose Style located beside Build on the left sidebar.
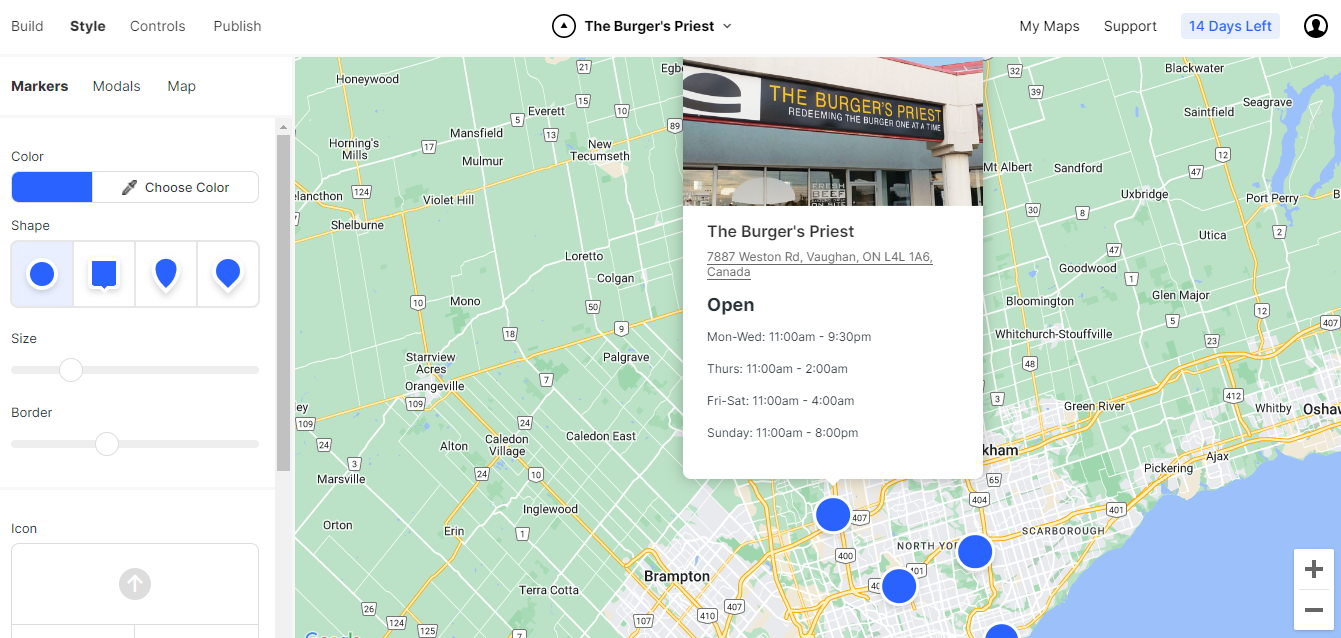
On Atlist, you can style the marker’s color, shape, size, border size, border color, and the icon on the marker.
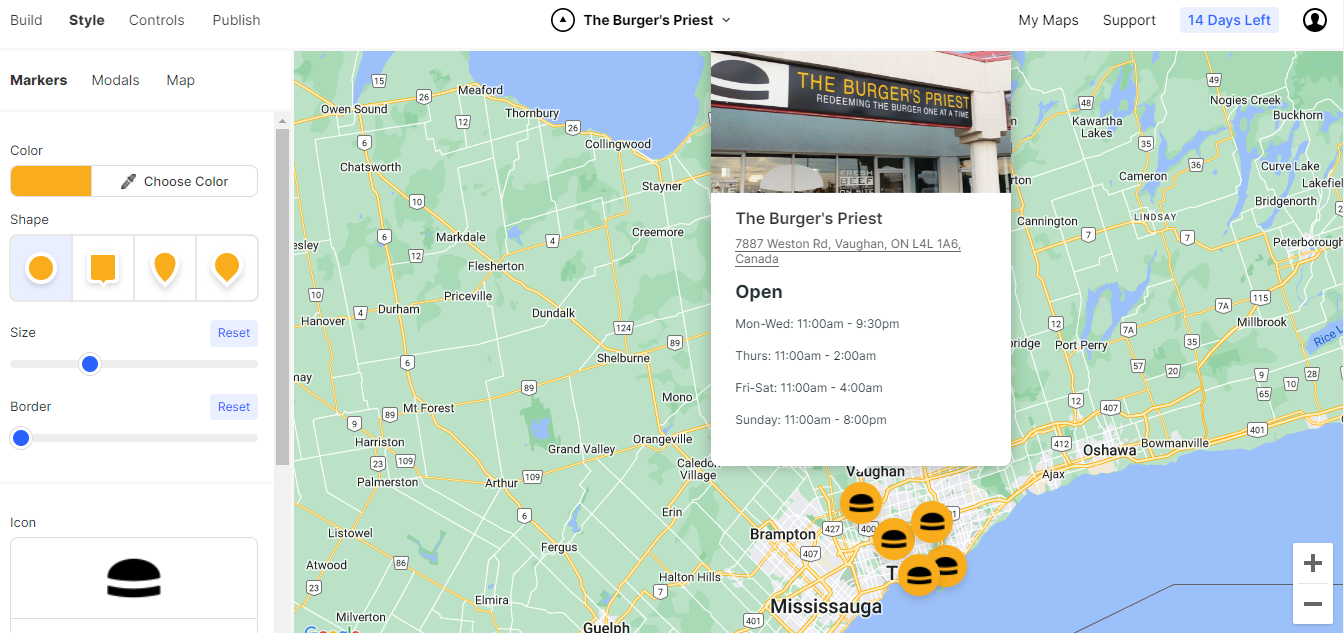
I changed everything according to The Burger Priest’s branding
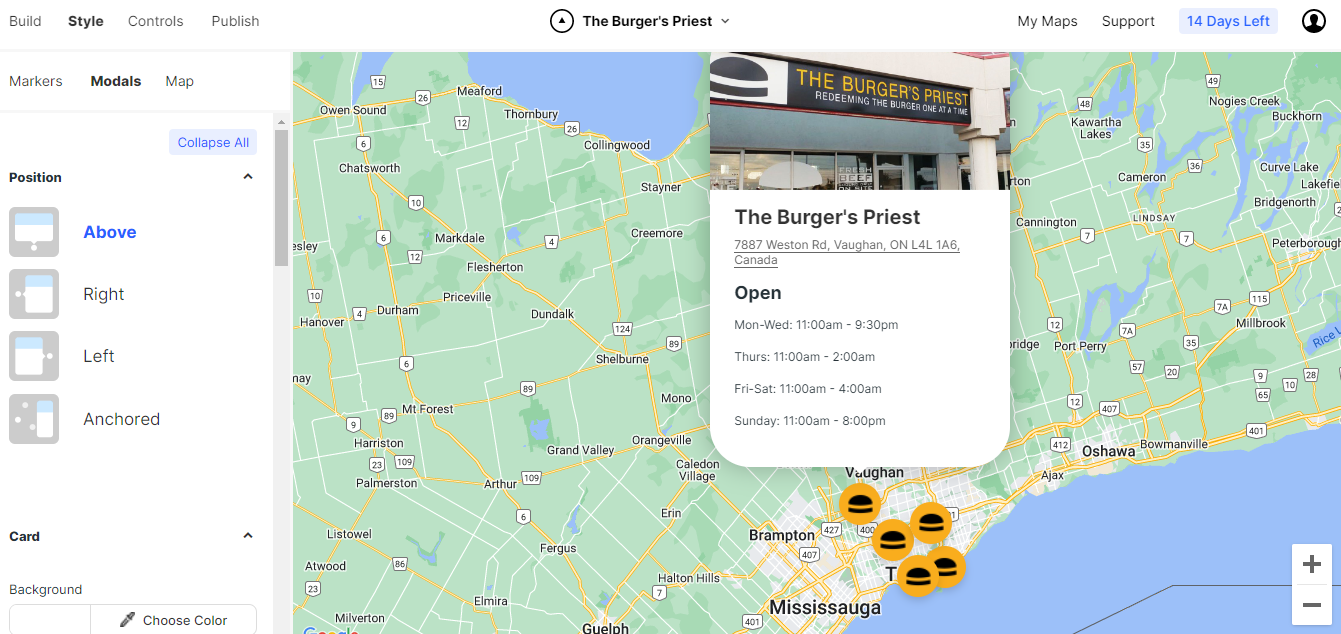
Styling the modals
Modals are popups that appear with the details of the location when you click the marker. You can change its position, background, roundness, shadow, padding, and overall looks on Atlist. You can even decide what you want to show/not show in the modal from there.
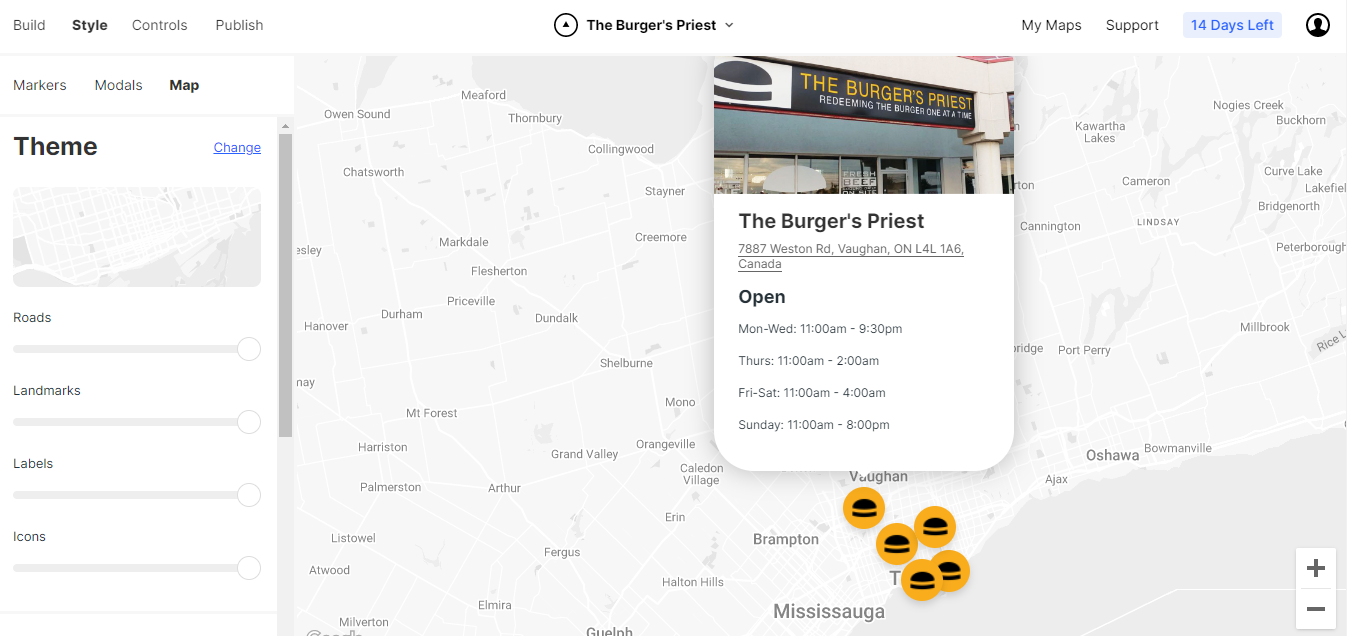
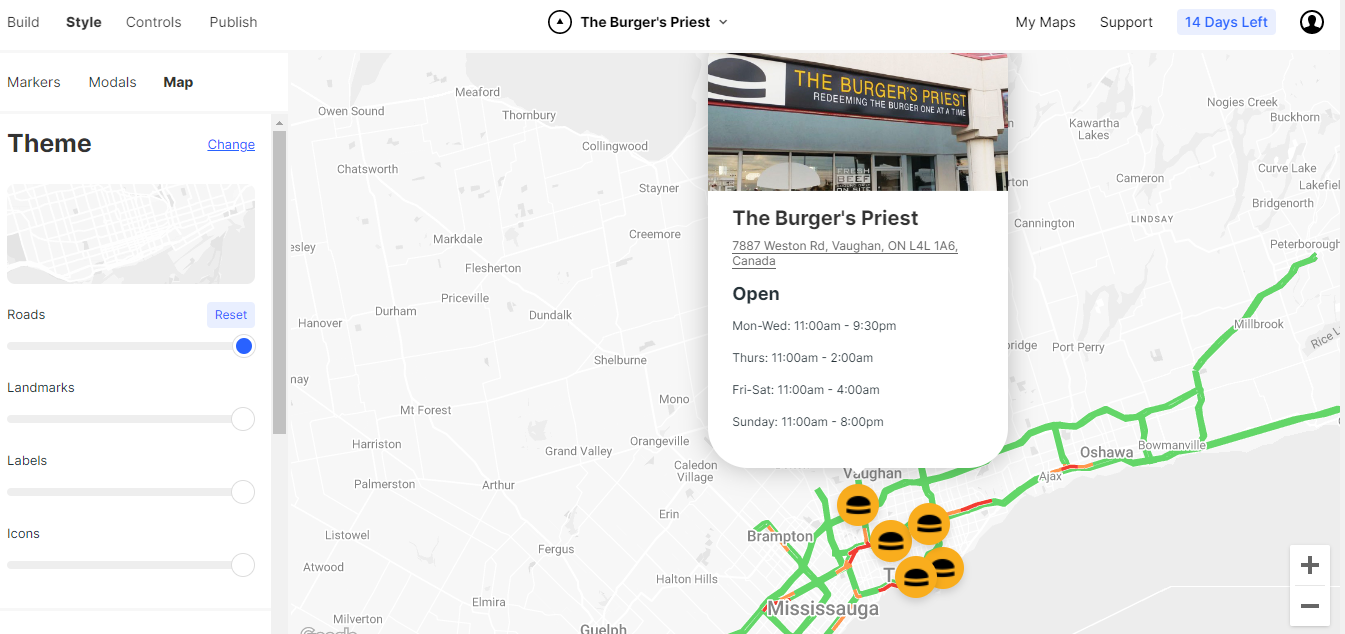
Styling the map
You can even style the map according to your liking: change the map theme; choose the map type and layer; show/not show the traffic, landmarks, icons, labels; etc.
Your store locator is pretty much ready by this step.
If you want, you can change the map's controls from the “Controls” option on Atlist. For example, you can decide what to show or not show on your map - zoom button, fullscreen option, current location icon, etc. You can even disable zooming and set the initial zoom.
How To Embed The Store Locator On Your Website
Made and styled your store locator per your liking? Cool! Now it’s time to make final changes and embed the map on your website.
Under Publish, you’ll have options to set the visibility of elements on the locator and the whole map. For instance, you can show all the locations in the sidebar, choose not to show modals, choose to show a directions button in modal, etc.
Make some final changes if you like. Though, in most cases, you’d want to go with the default values.
Done? Now you can share the map with people interested in visiting your store. You can do so by sharing a link with them or, the more practical option, embedding the map on your website.
Step 5: Embed the store locator
To embed, you simply have to copy the embed code (HTML) and publish it on your website.
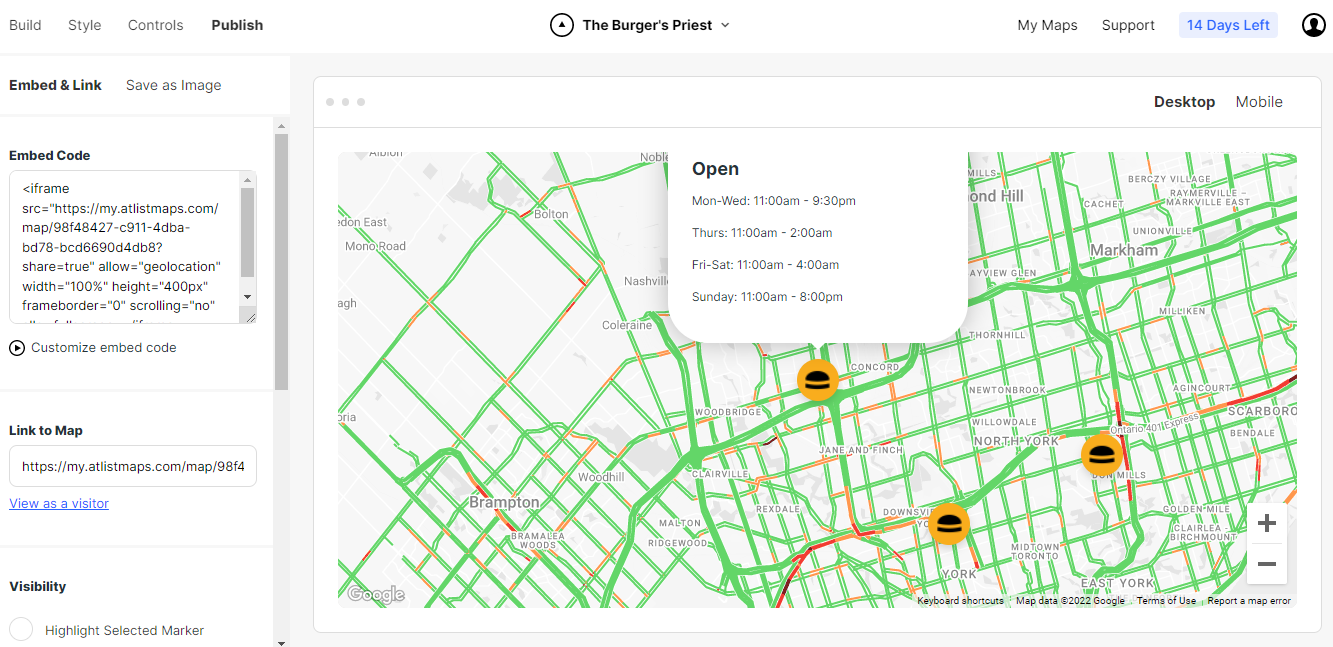
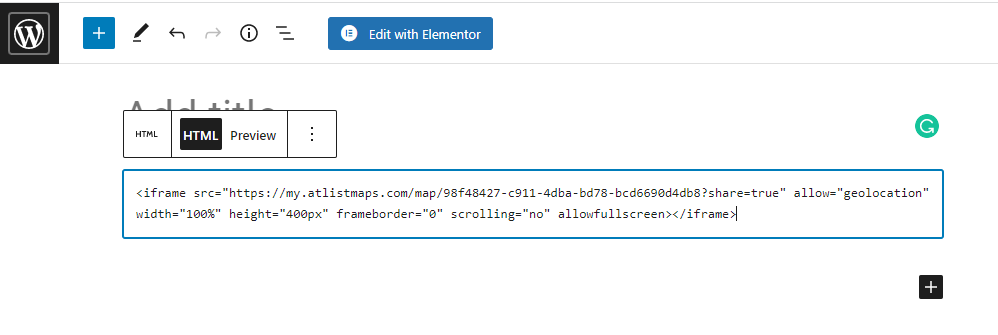
Note: Make sure you don’t paste the iframe block as text on your site; otherwise, you won’t see the map but the code as text on your site.
Another note: You can change the height and width of the map by changing the values in the HTML code.
That’s it!
.png)

