How to Create Powerful Google Maps for Wix
How to add beautiful custom maps to your Wix website.

Wix is an awesome tool for creating websites — but it's map element is limited.
In this tutorial we'll go beyond those limits and create a beautiful, powerful map and publish it on a Wix website.
We'll cover:
- How to create beautiful modal pop-ups when visitors click markers
- How to add search so visitors can find the nearest location
- How to upload a spreadsheet of locations
- How to create custom marker styles
To do this, we'll use Atlist.
Atlist mapping software lets you publish beautiful, powerful maps.
The best thing about it? Anyone can do it.
In this tutorial, we'll create a map that you can add to your own Wix website!

Step 1. Create Your Map
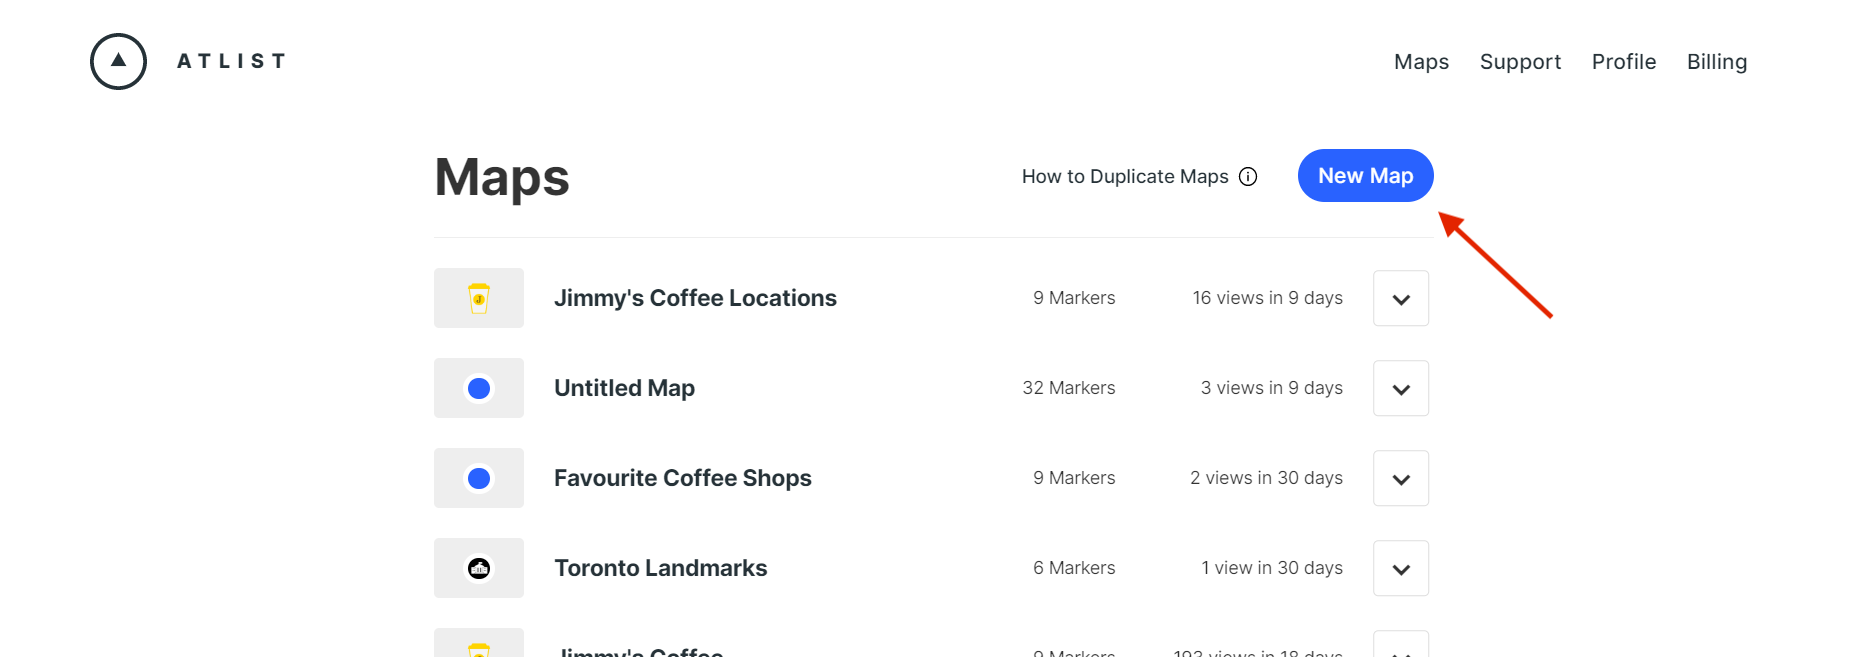
First things first, head over to Atlist and login if necessary. You can click on the blue My Maps button for a complete list of any maps you’ve created as well as create new ones.

Begin by clicking New Map.
Here, you’ll see a new map that is untitled with no current markers. (addresses) Go ahead and start typing the first address in the search bar. Once you find the one you need, click to add it to your custom map.
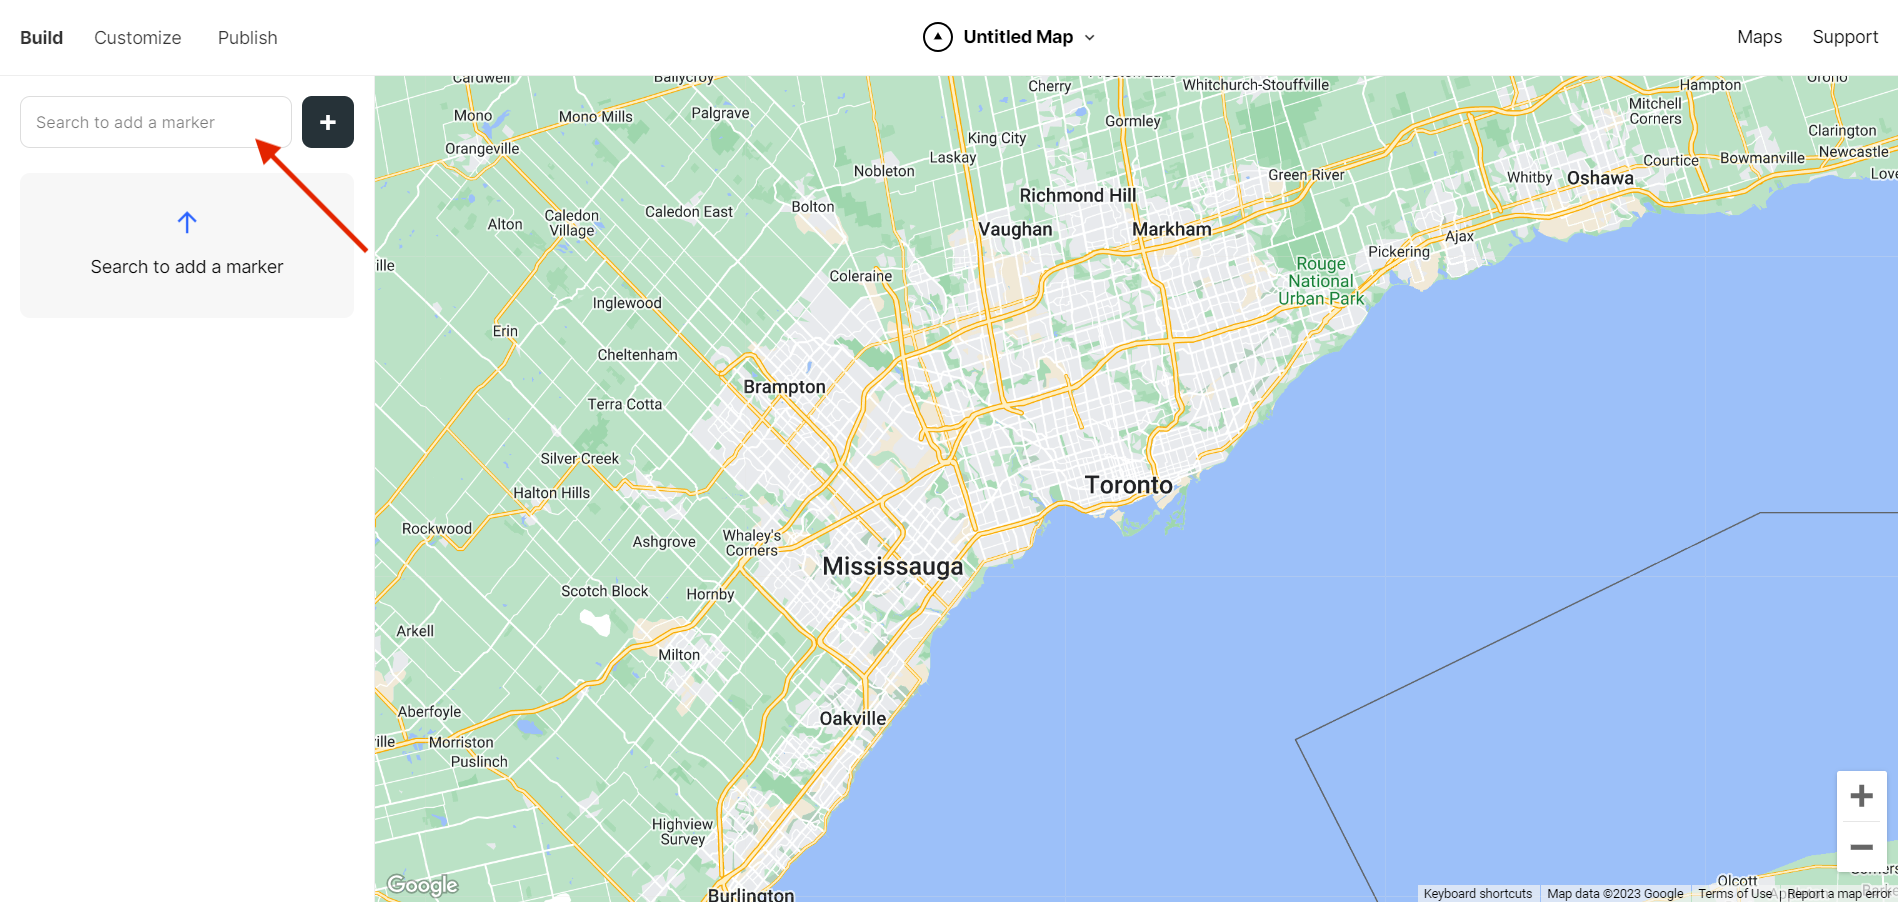
Voila! You now have the first address planted on your map. Now is a good time to give your map a name but you can certainly change it later if needed.
.png)
Step 2. Add Markers
Easy right? 🙂
Keep building your map by adding one address at a time or you can upload a spreadsheet to speed up the data input process.
Let's try uploading a spreadsheet.
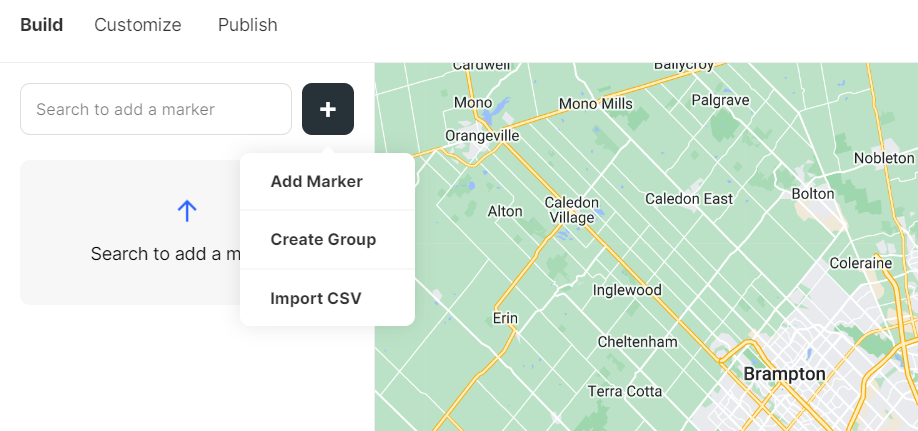
Click the black button with the white plus sign and you’ll also see an option to Import a CSV.
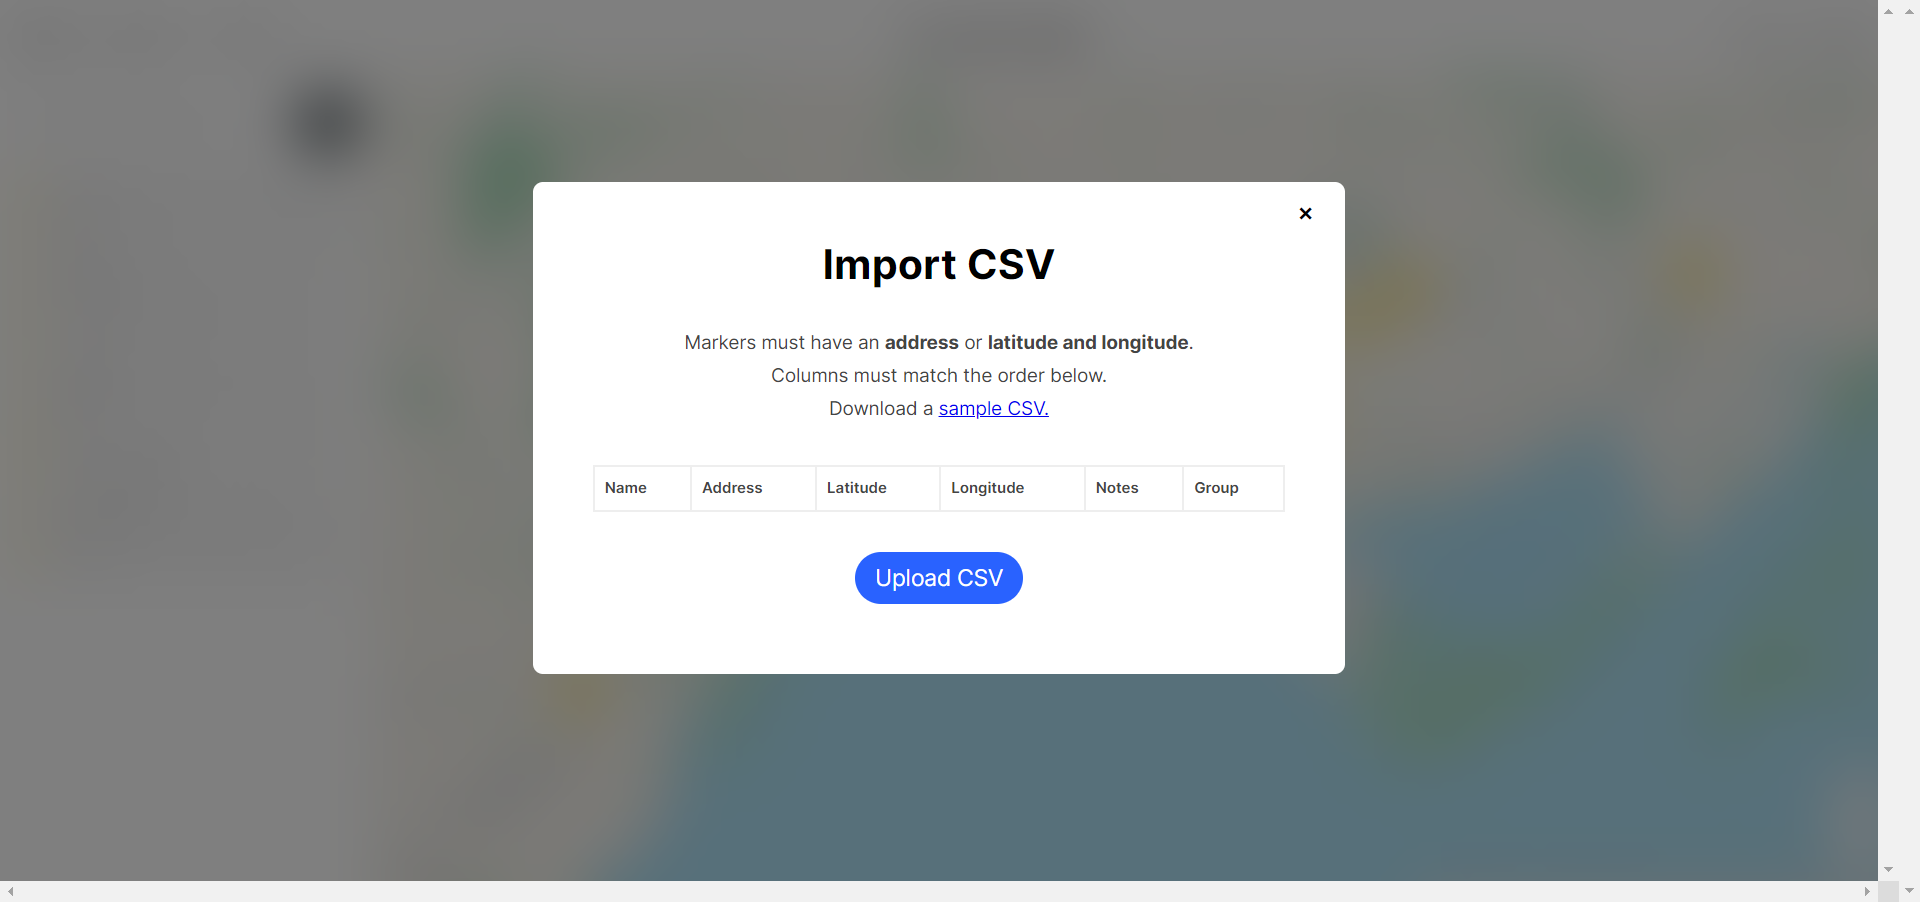
The Upload CSV button will open up your stored computer files where you can search and select the desired file…
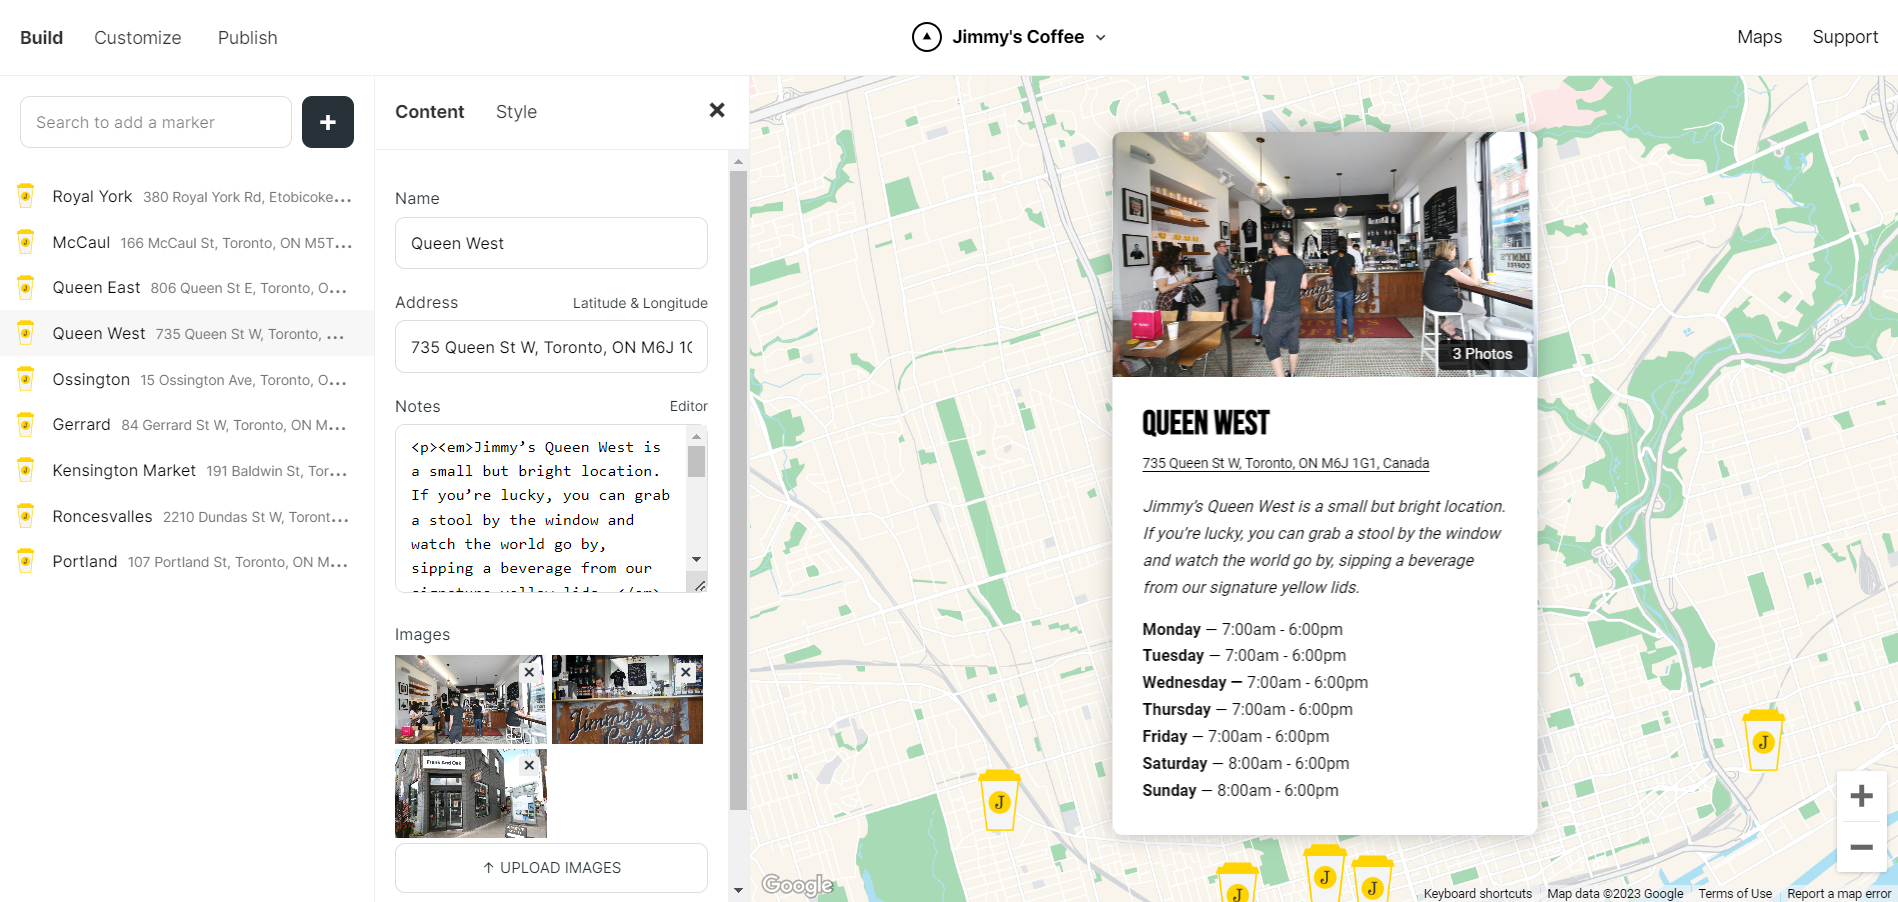
Bam! All of your addresses will be automatically uploaded to your Atlist map. If you click on any of the addresses, you’ll have the option to change information under Content. You can also add pictures of the location and adjust other Style elements.
Step 3. Customize Your Map
Check out the Customize tab to for more map options.
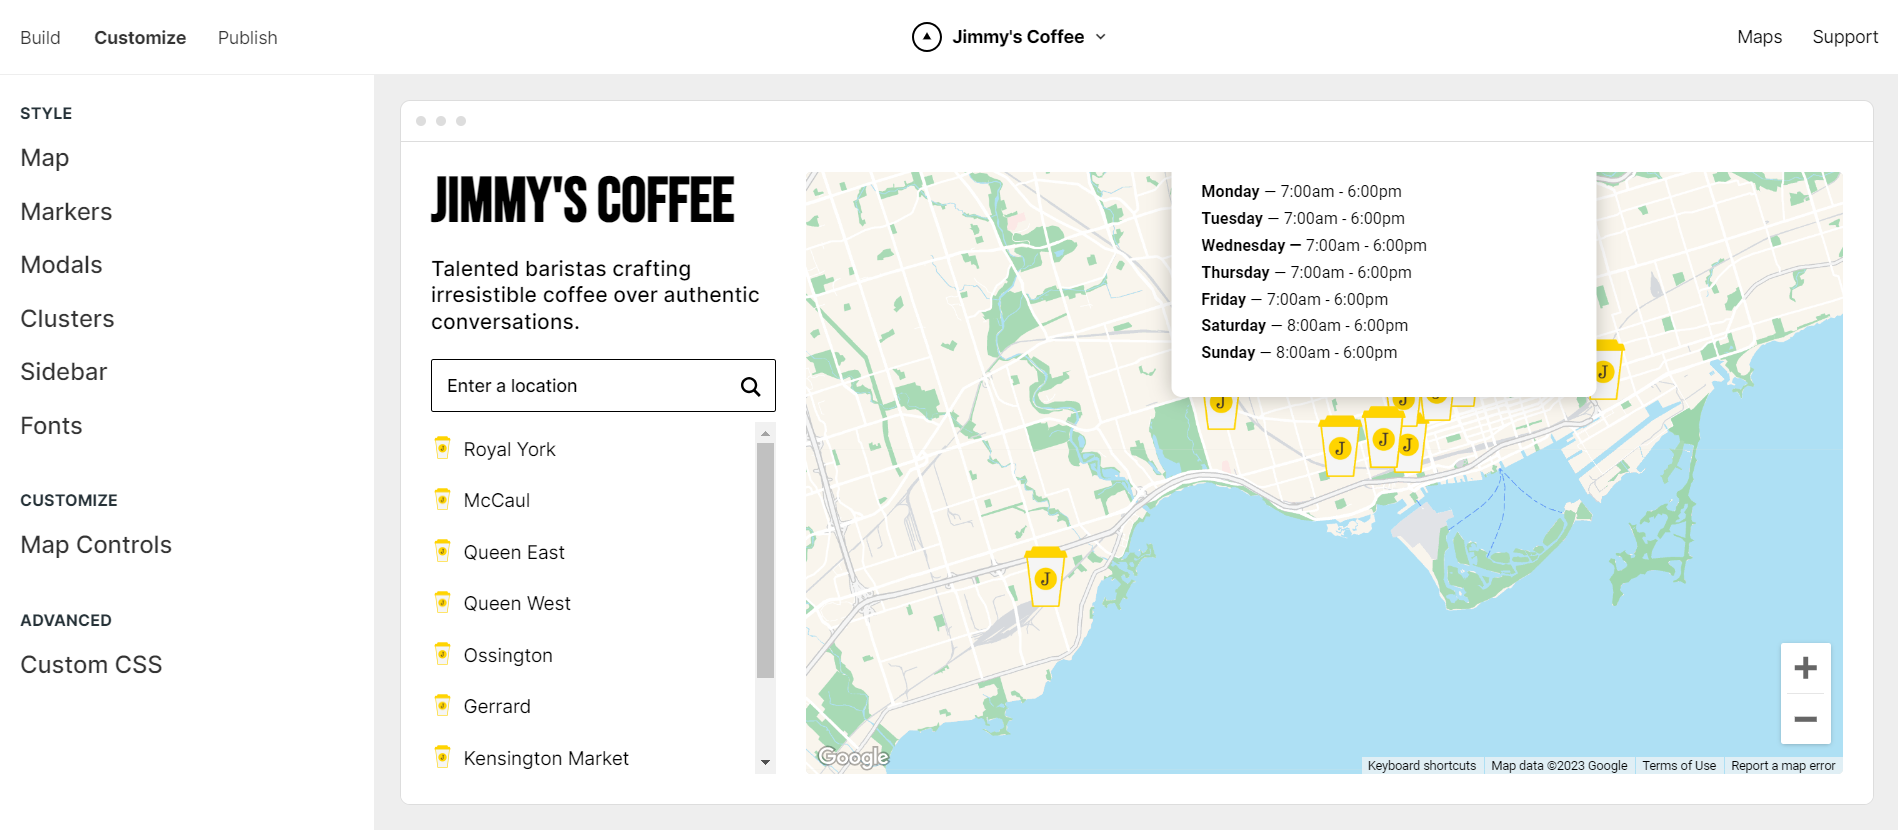
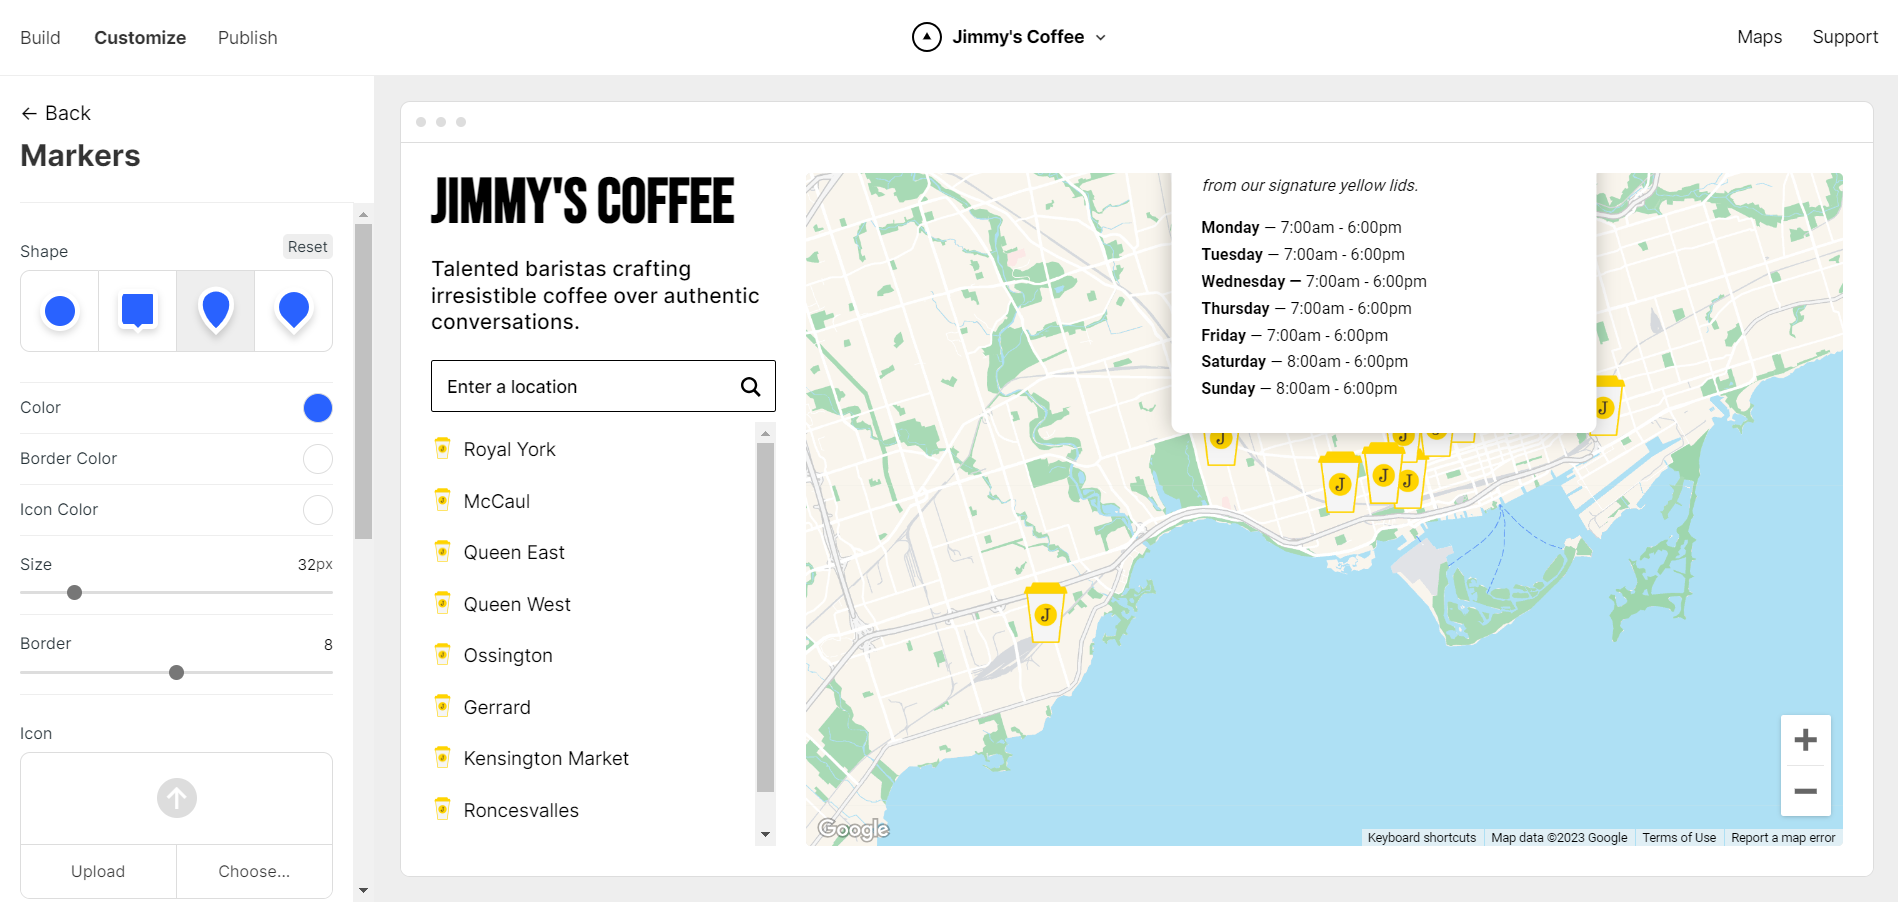
You can customize Map Markers...
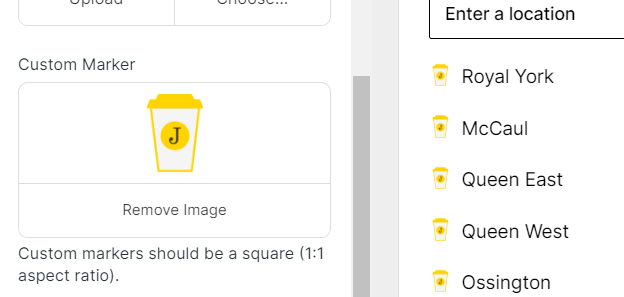
... upload Custom Icons…
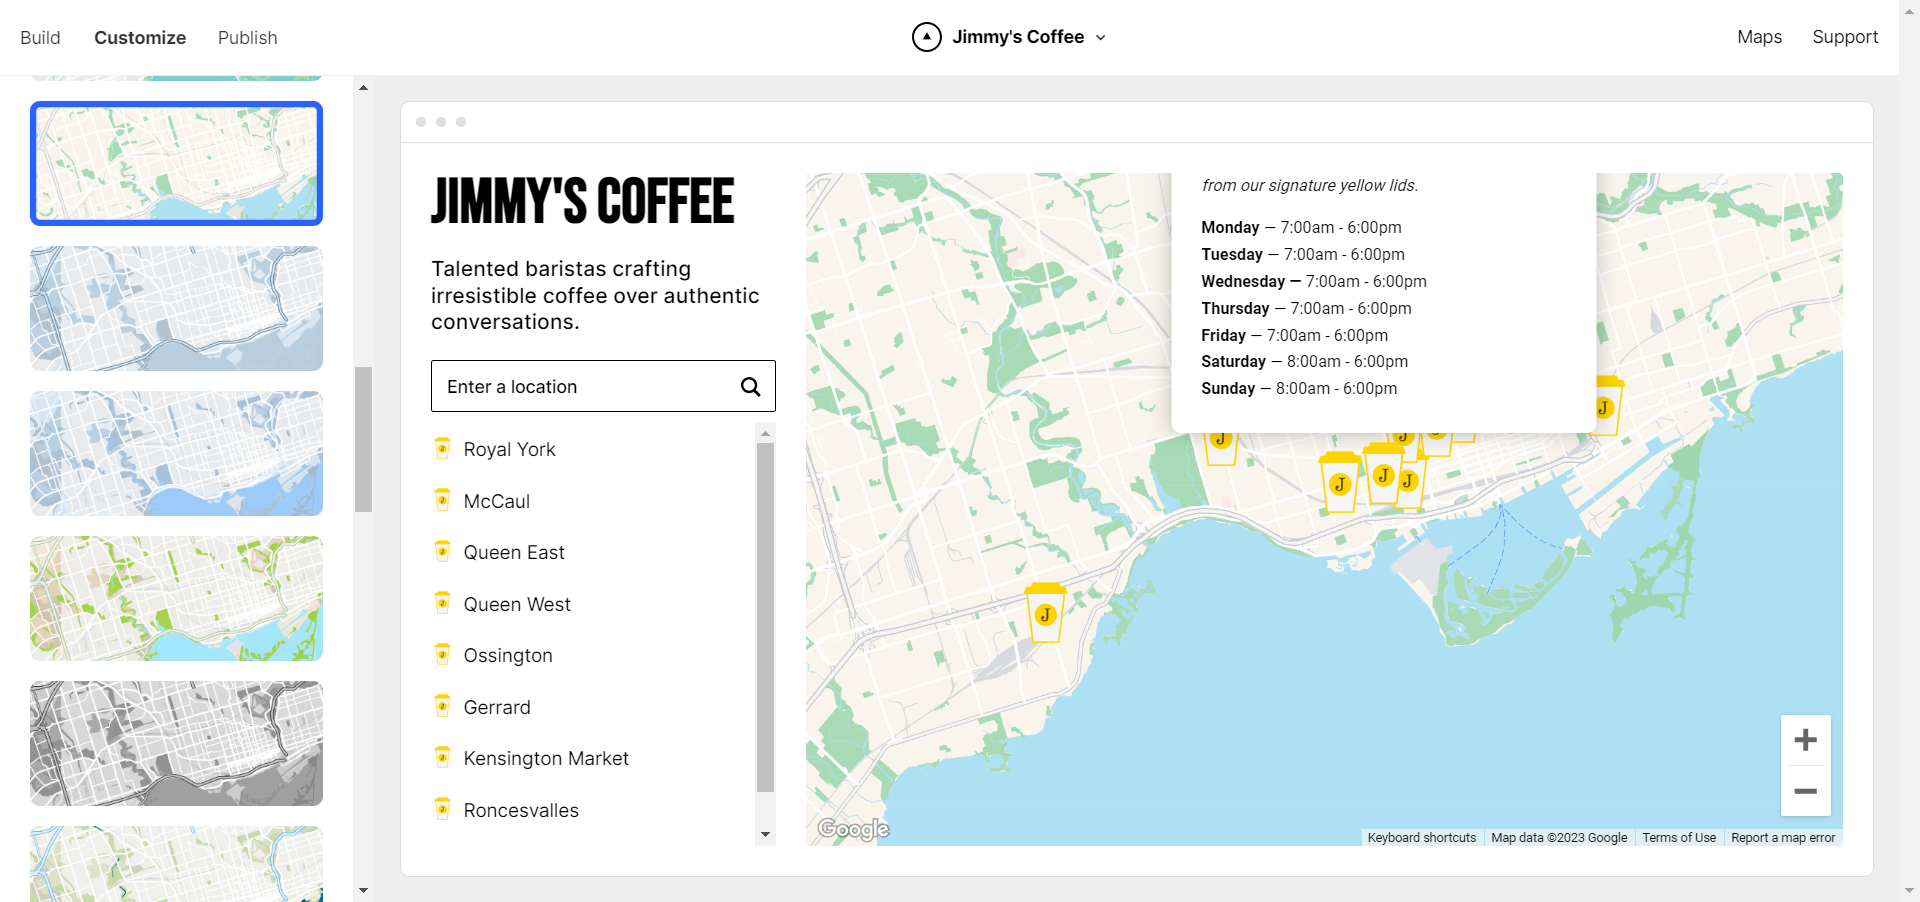
... and experiment with different Map Themes and Styles.
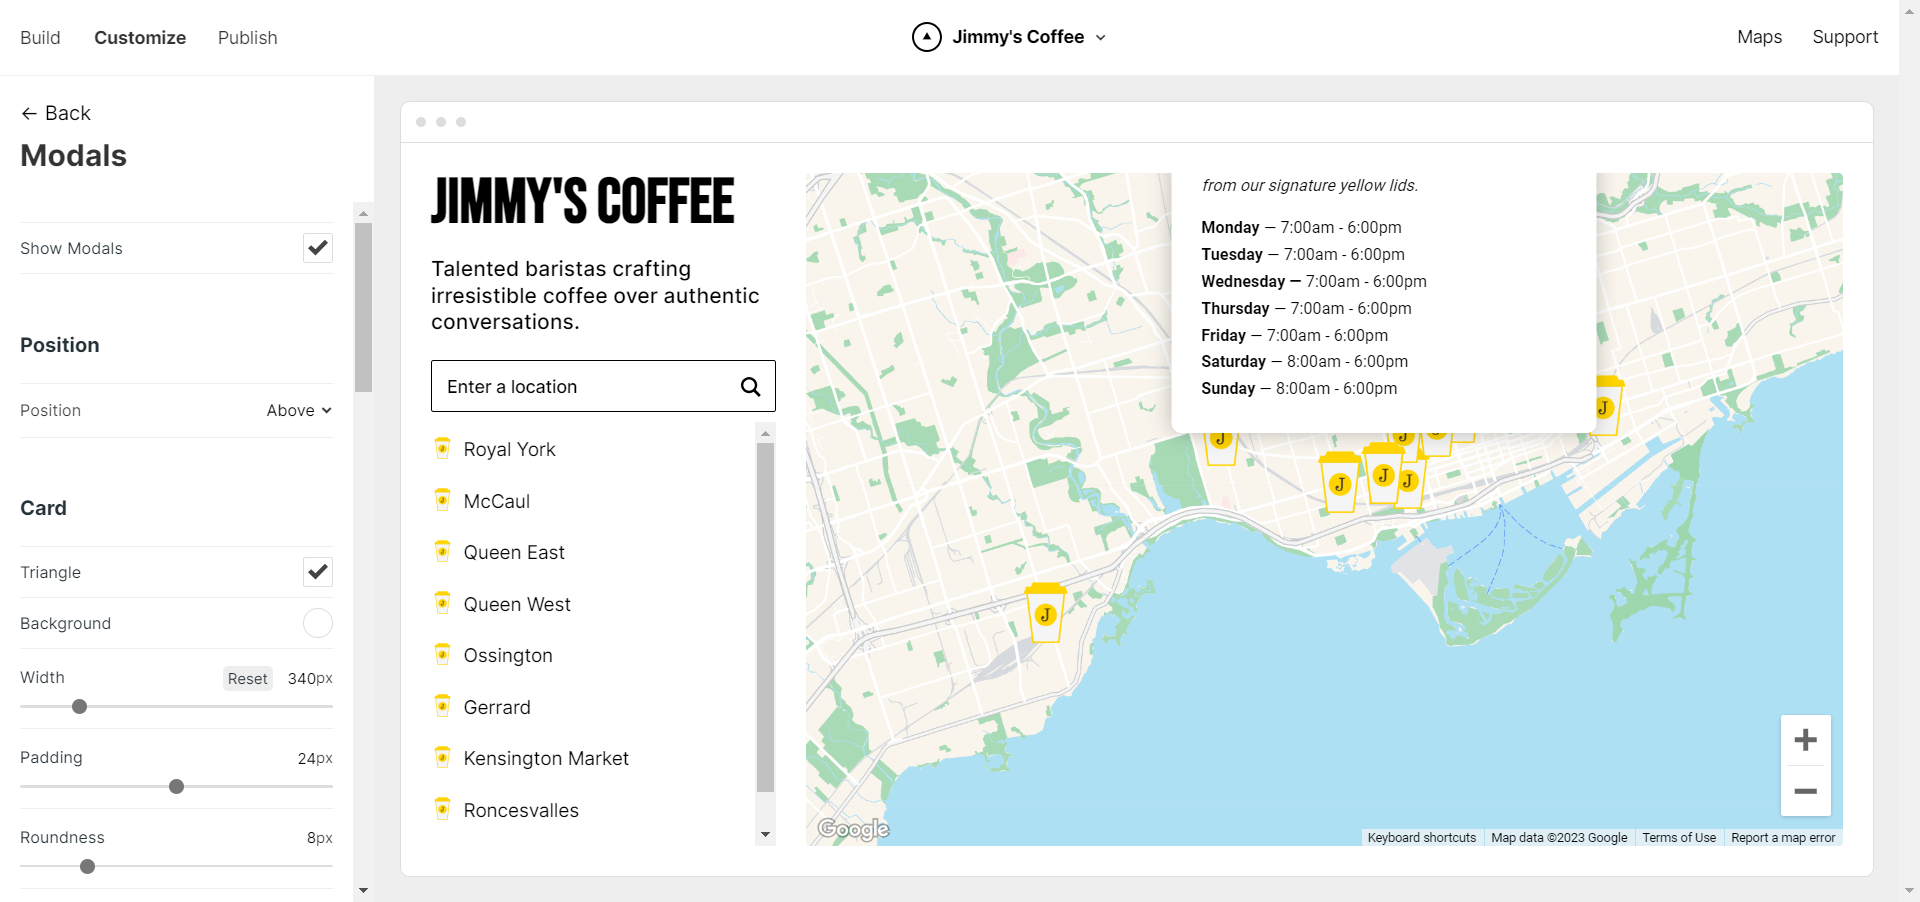
Customize Modals
The panel on the left will allow you to make changes to a variety of Modal elements such as the title, font size etc.
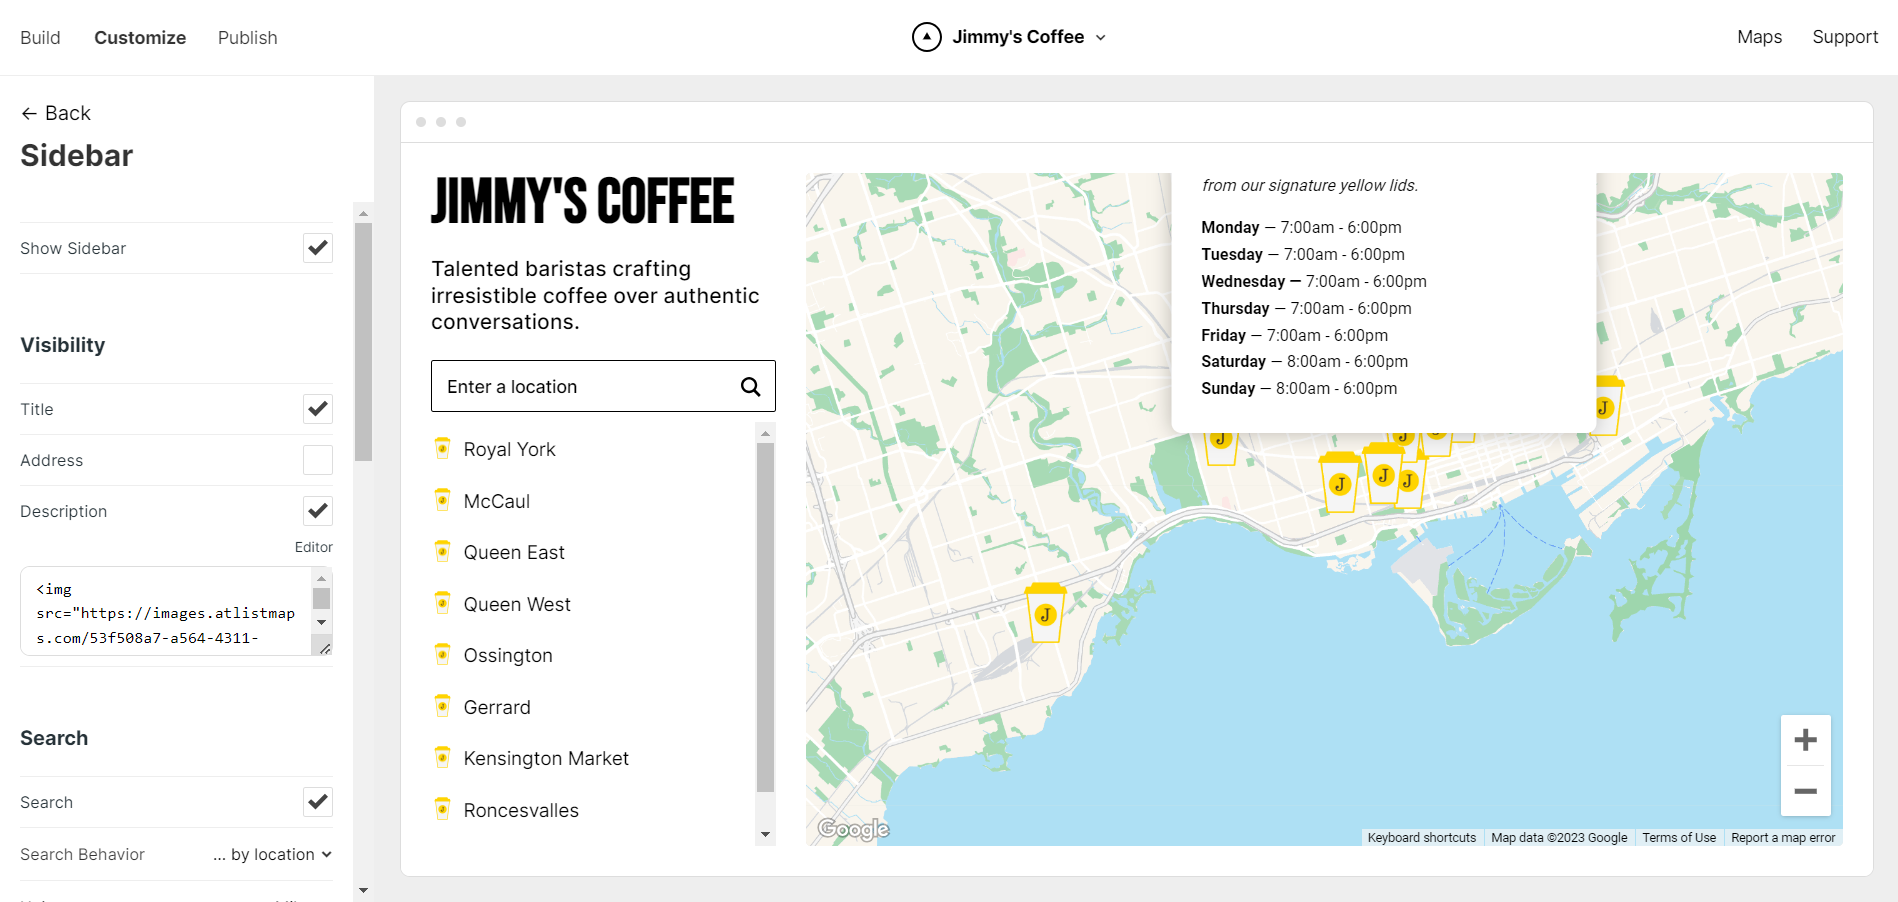
Customize & Turn On Sidebar
The sidebar is an important part of your Atlist map. Making it available allows viewers to search map locations that are closest to them, something we can all agree is a vital part of any map.
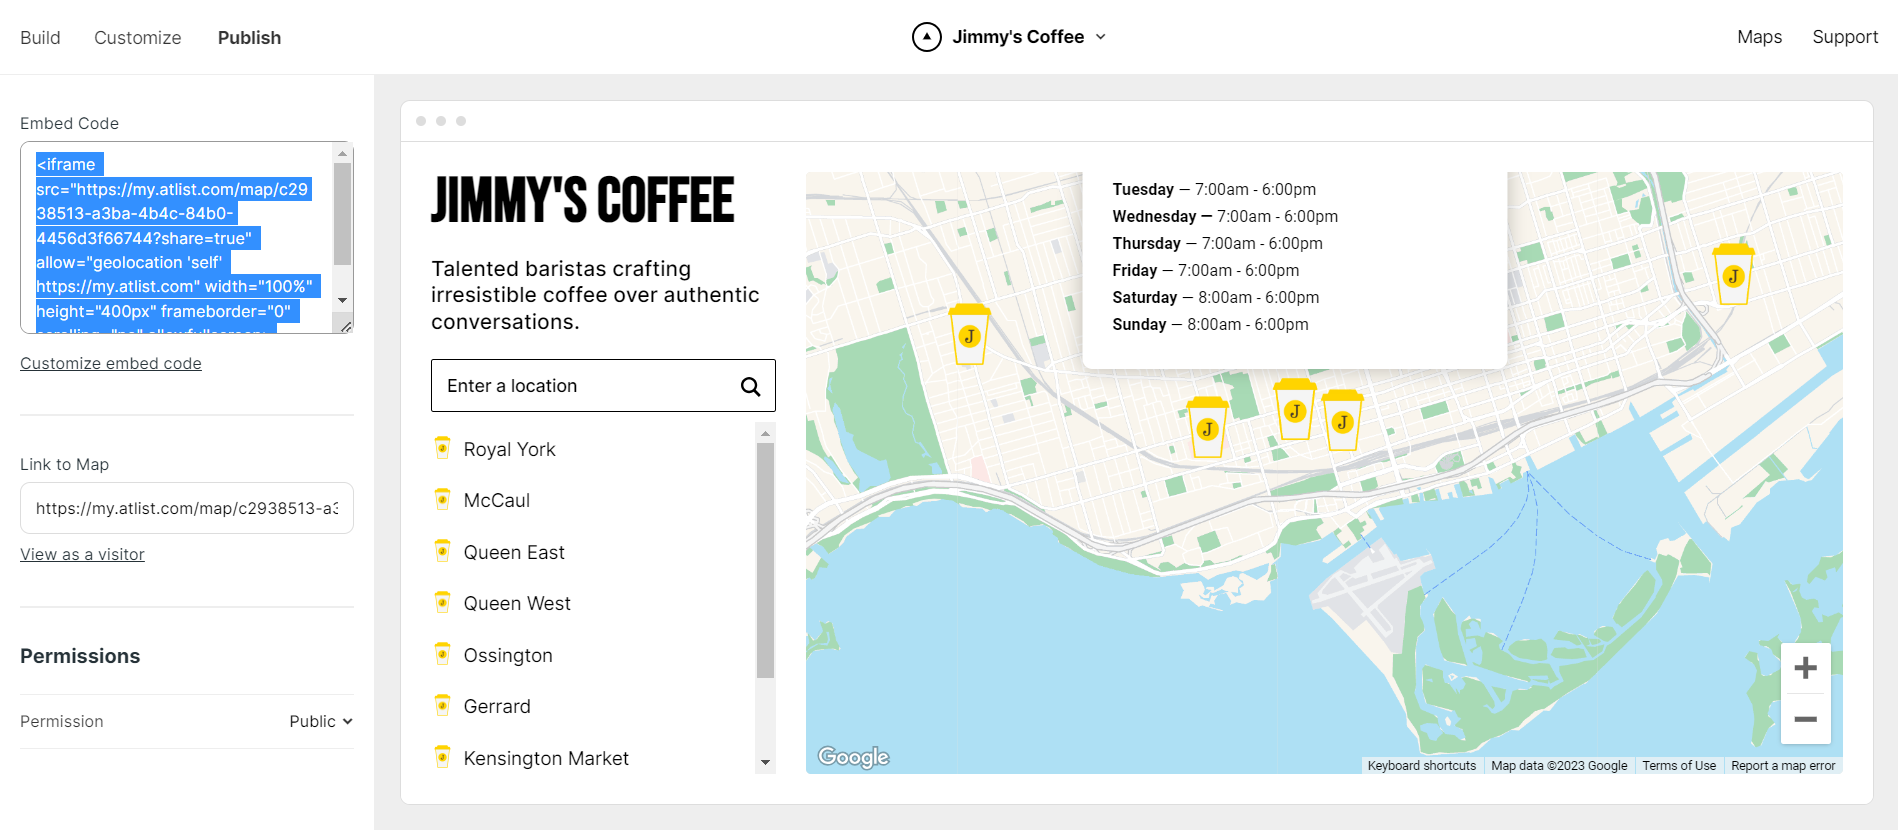
Step 4. Publish & Embed
Once you have played around a bit, make any last minute changes and get ready to publish! Clicking the Publish button allows the map to go live. It also provides the code you’ll need to display the map beautiuflly on your Wix site.
Copy the given code and hop over to your Wix website…
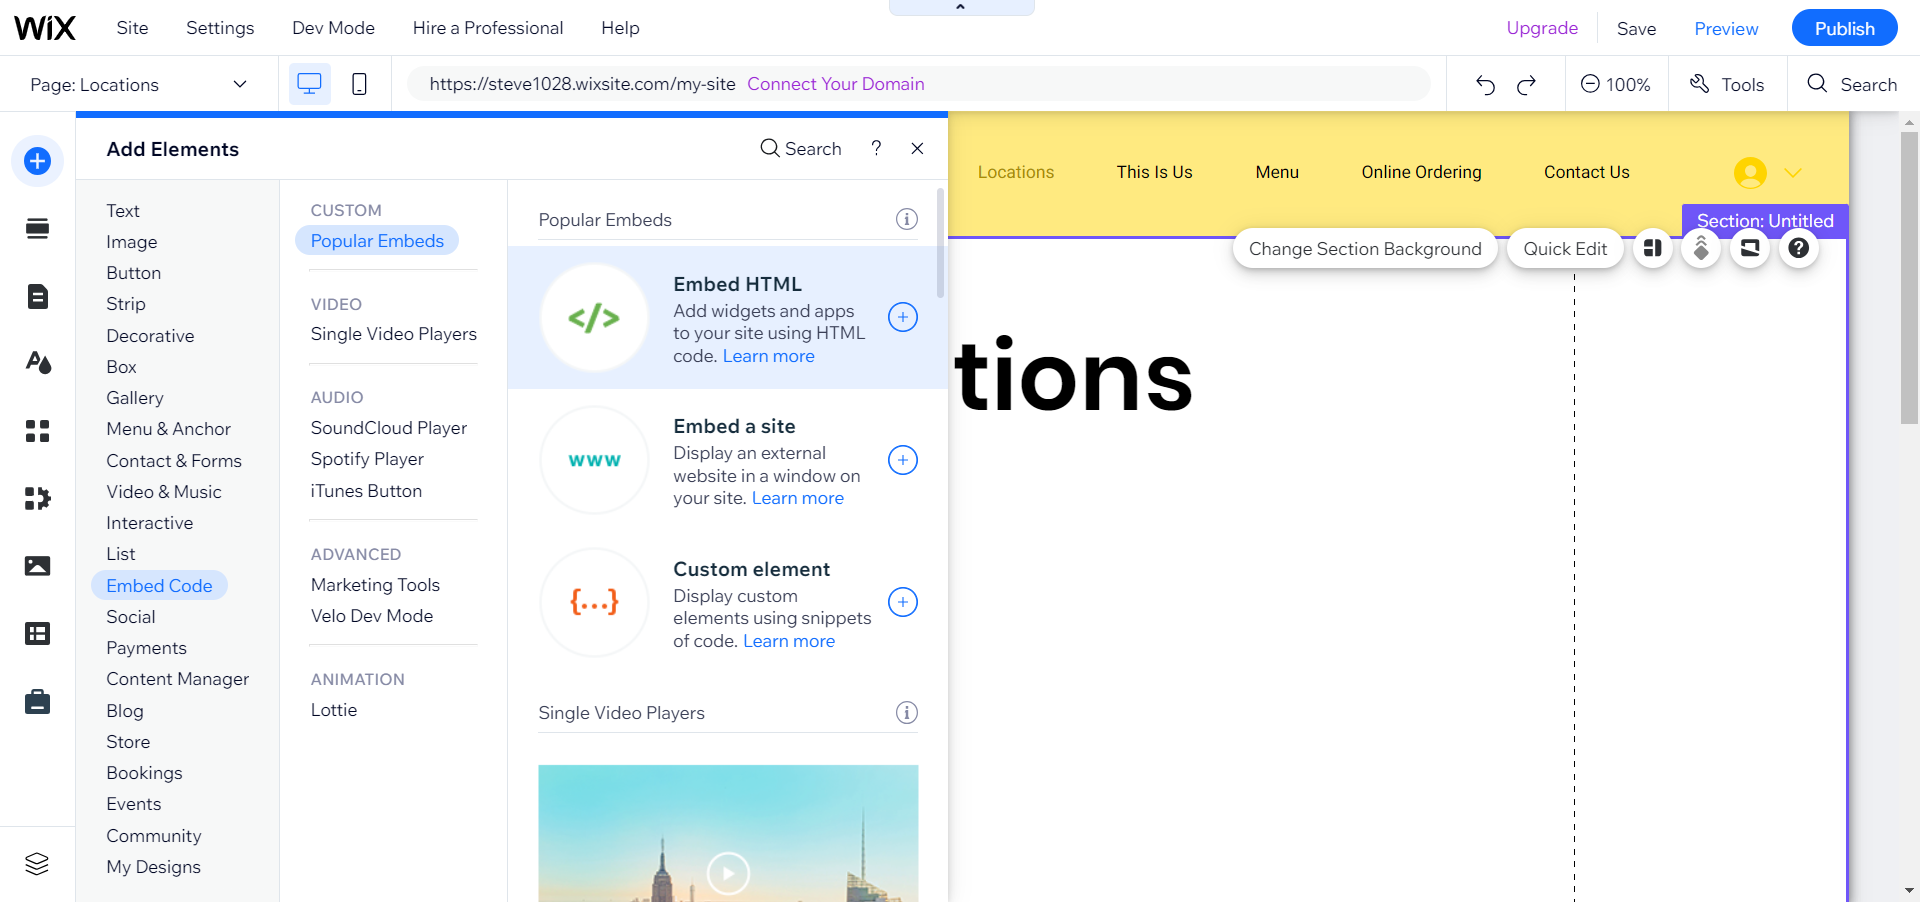
Head to Wix
Head to the Wix page that you’d like to display the map. (in our case, the page is “Locations”)
Click the blue plus sign at the top left for Add Elements, followed by Embed Code, Popular Embeds and then Embed HTML…
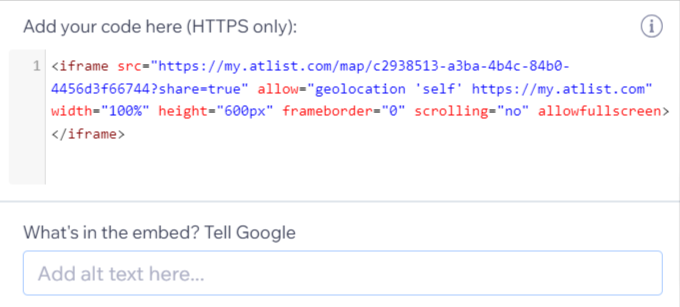
Paste the Atlist map code you previously copied…
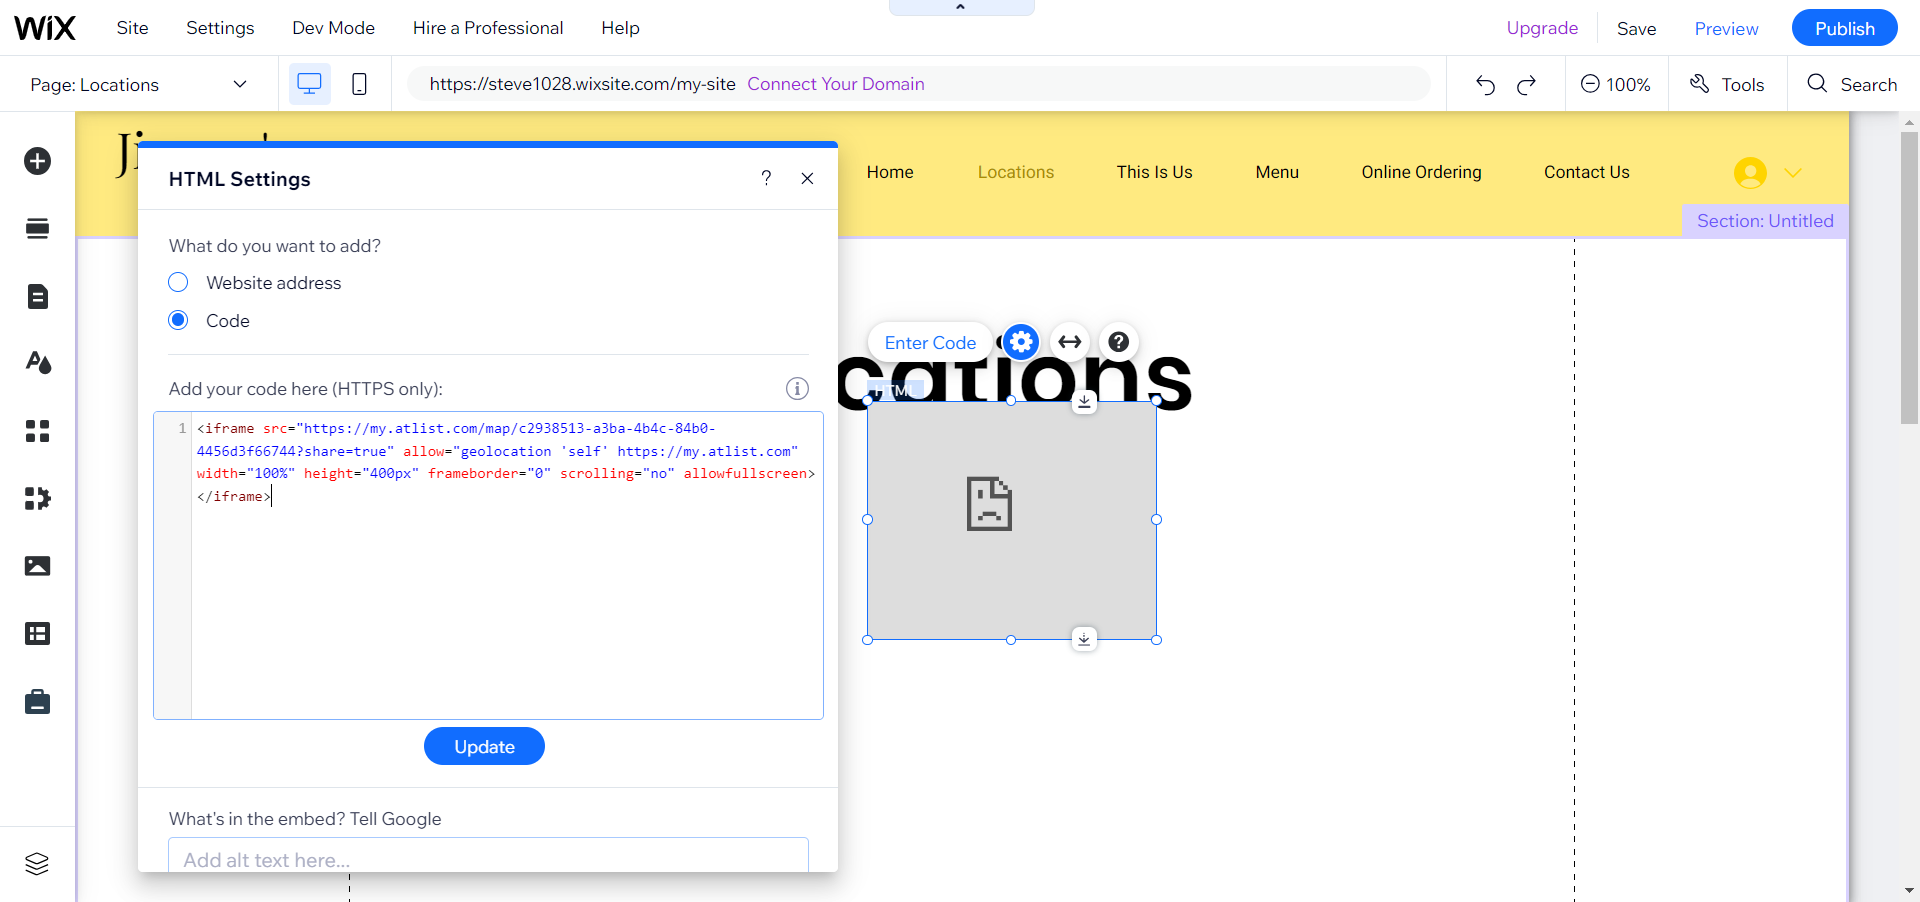
Before hitting the update button, we recommend manually adjusting the height in the code from 400px to 600px. This ensures the best layout and view of your Atlist map!
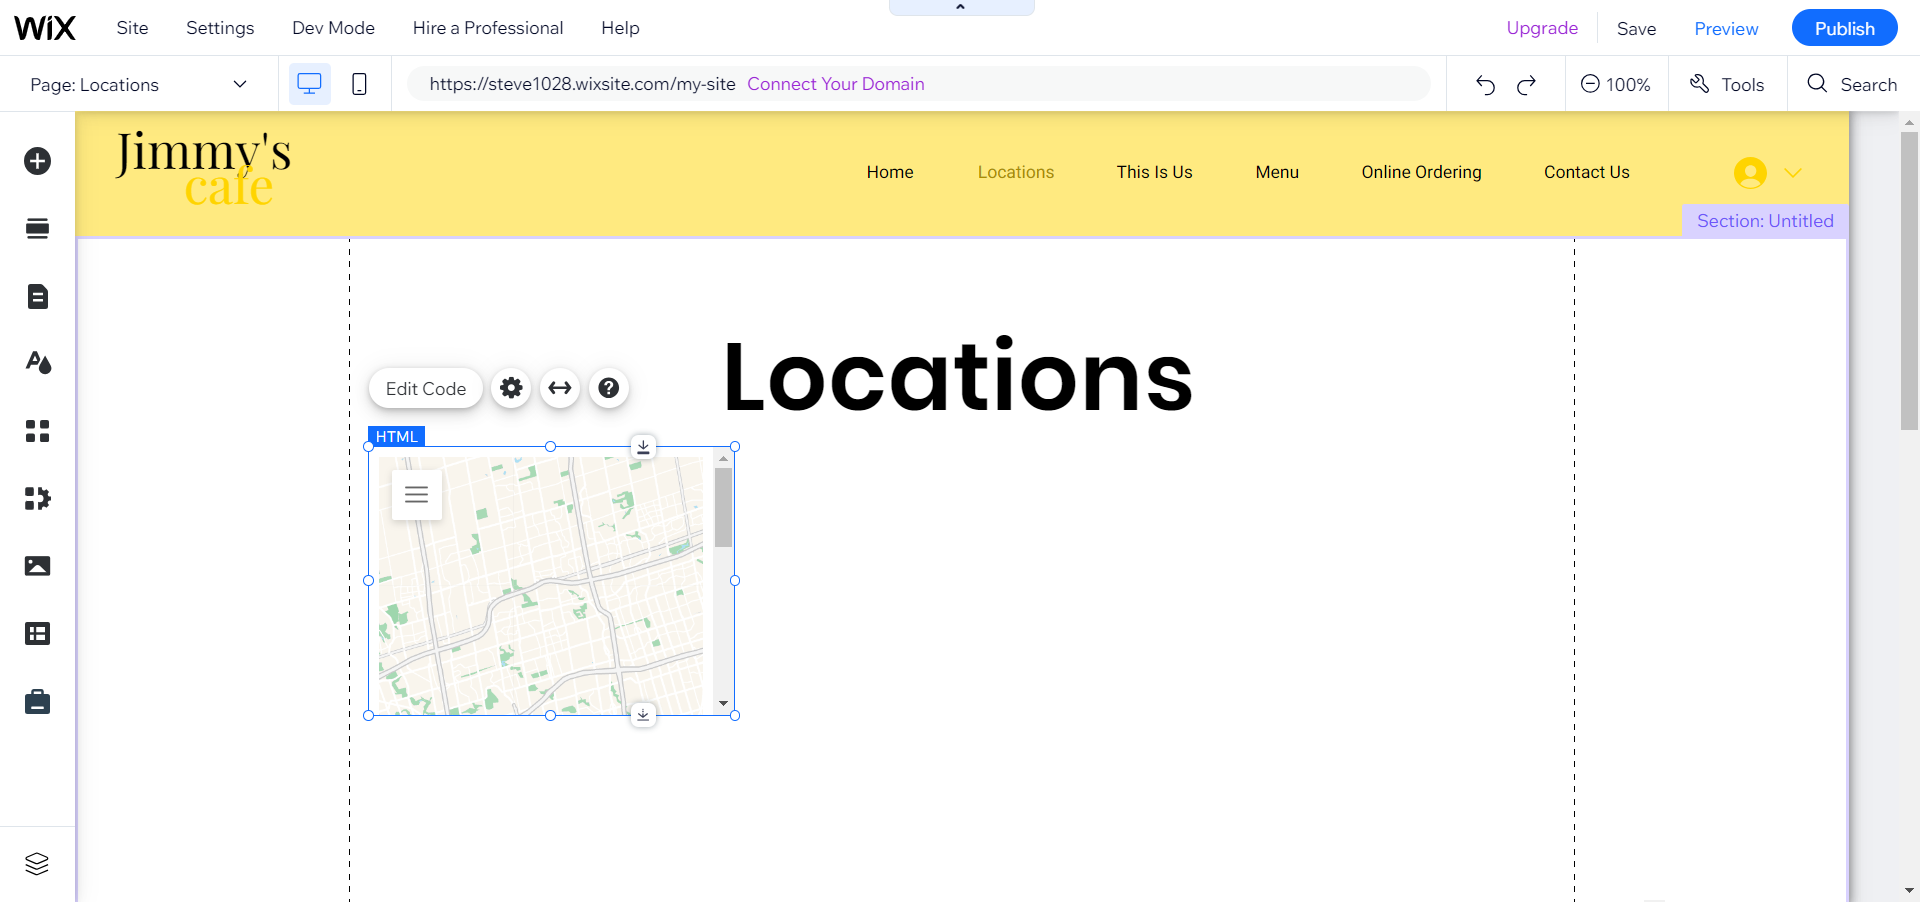
Now that you see the map, drag it to wherever you’d like on the page. Adjust the size by dragging the corners of the map until it’s where you want it and easy to read.
Once you’re good to go, click the Publish button and view the site live!
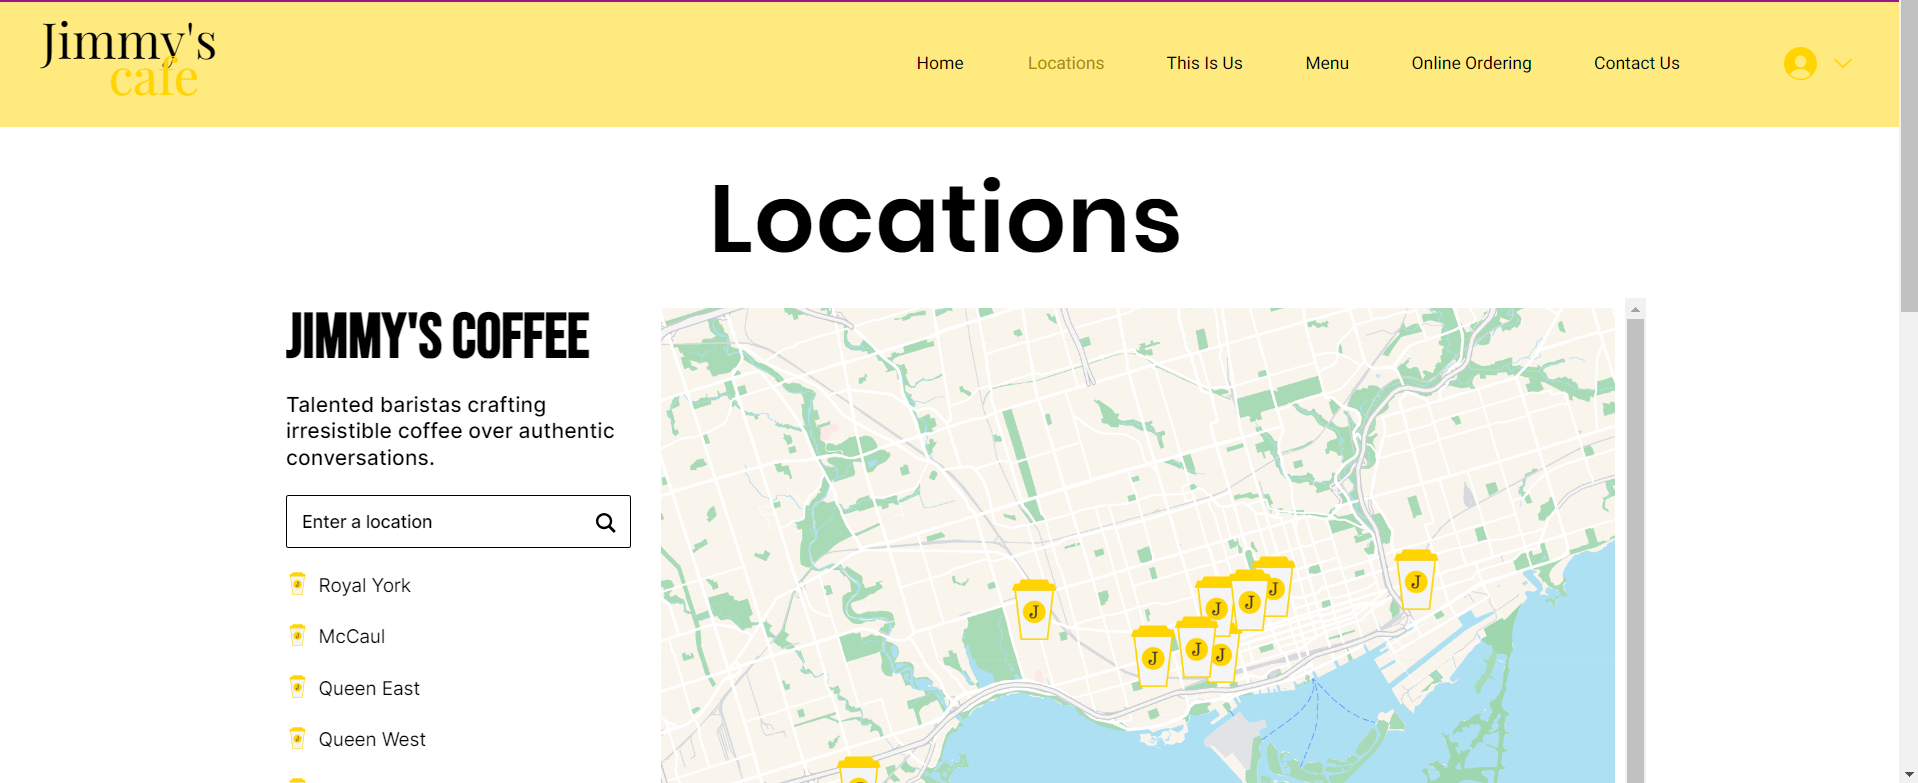
Congrats! Your Atlist map is now a beautiful part of your website.
Not only will it flow seamlessly with the rest of your Wix website, it gives visitors important information with a dash of design. Come back again and create smething totally different or keep it similar for branding purposes.
Enjoy!