How to Create Powerful Google Maps for GoDaddy
How to add beautiful custom maps to your GoDaddy website.

You might already know that GoDaddy lets you add maps to your website.
But the maps that GoDaddy includes are really basic:
- One location limit
- No style customization
- No modal pop-ups
- No search
In this tutorial I'll show you how to fix this.
We'll embed a beautiful map on your GoDaddy site — complete with multiple markers, custom styles, modal pop-ups and even search to find the nearest location.
To do this, we'll use Atlist.
Atlist mapping software lets you publish beautiful, powerful maps.
Awesome. Let's get into it.
Step 1. Create Your Map
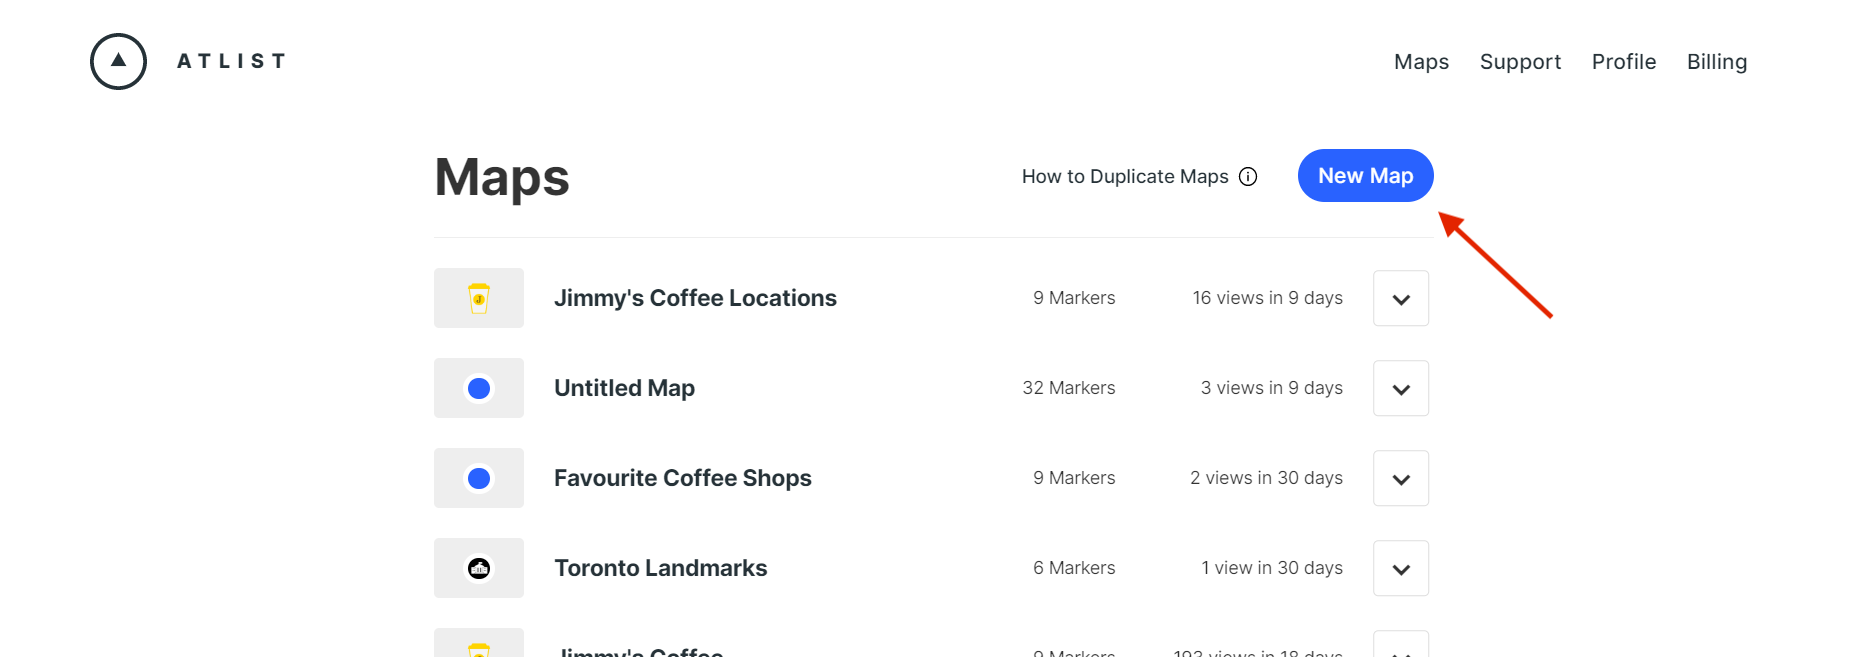
First things first, head over to Atlist and login if necessary. You can click on the blue My Maps button for a complete list of any maps you’ve created as well as create new ones.

Begin by clicking New Map.
Here, you’ll see a new map that is untitled with no current markers. (addresses) Go ahead and start typing the first address in the search bar. Once you find the one you need, click to add it to your custom map.
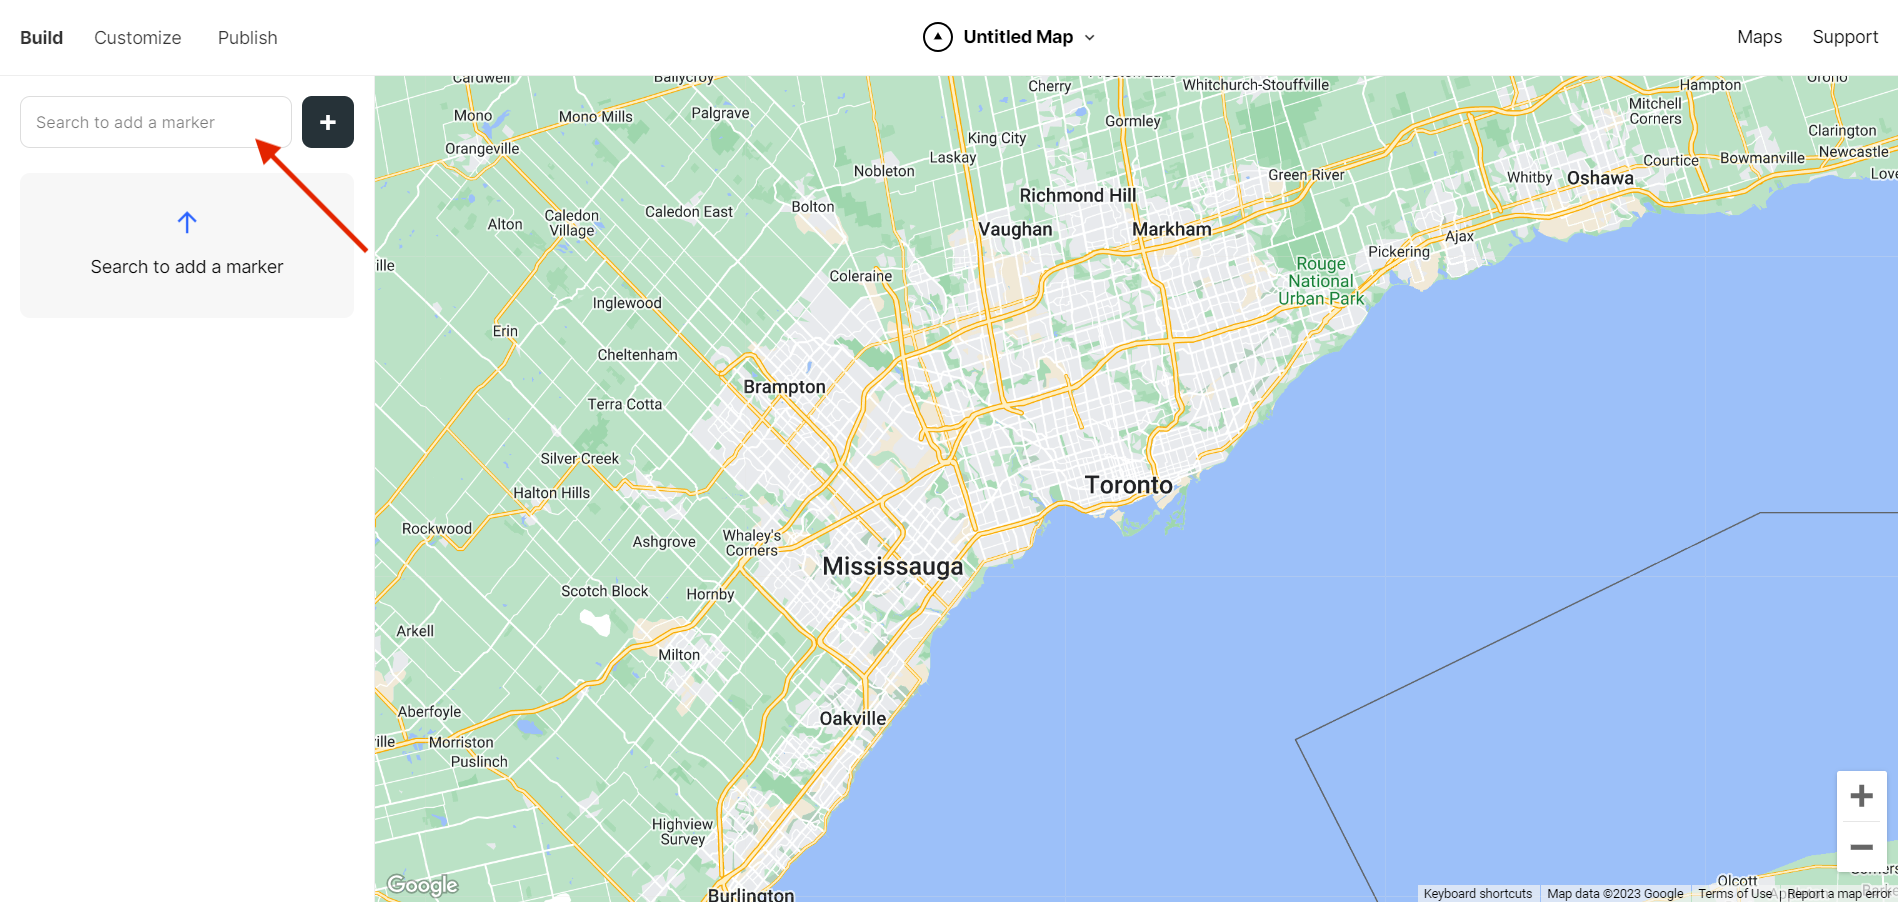
Voila! You now have the first address planted on your map. Now is a good time to give your map a name but you can certainly change it later if needed.
.png)
Step 2. Add Markers
Easy right? 🙂
Keep building your map by adding one address at a time or you can upload a spreadsheet to speed up the data input process.
Let's try uploading a spreadsheet.
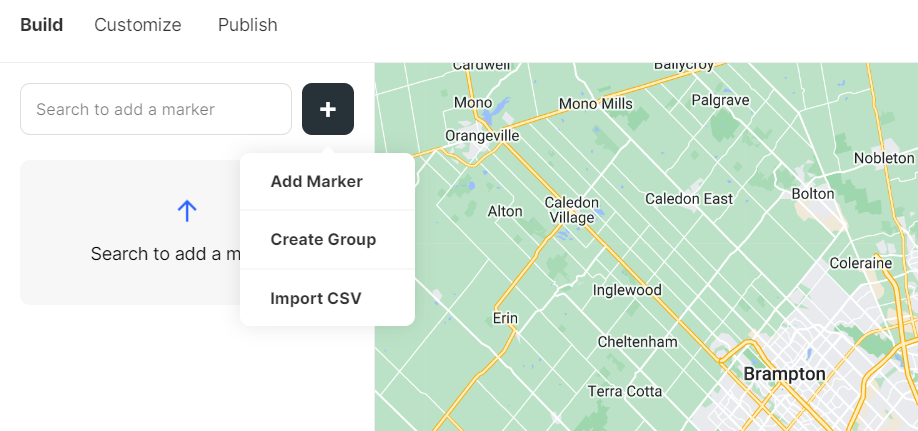
Click the black button with the white plus sign and you’ll also see an option to Import a CSV.
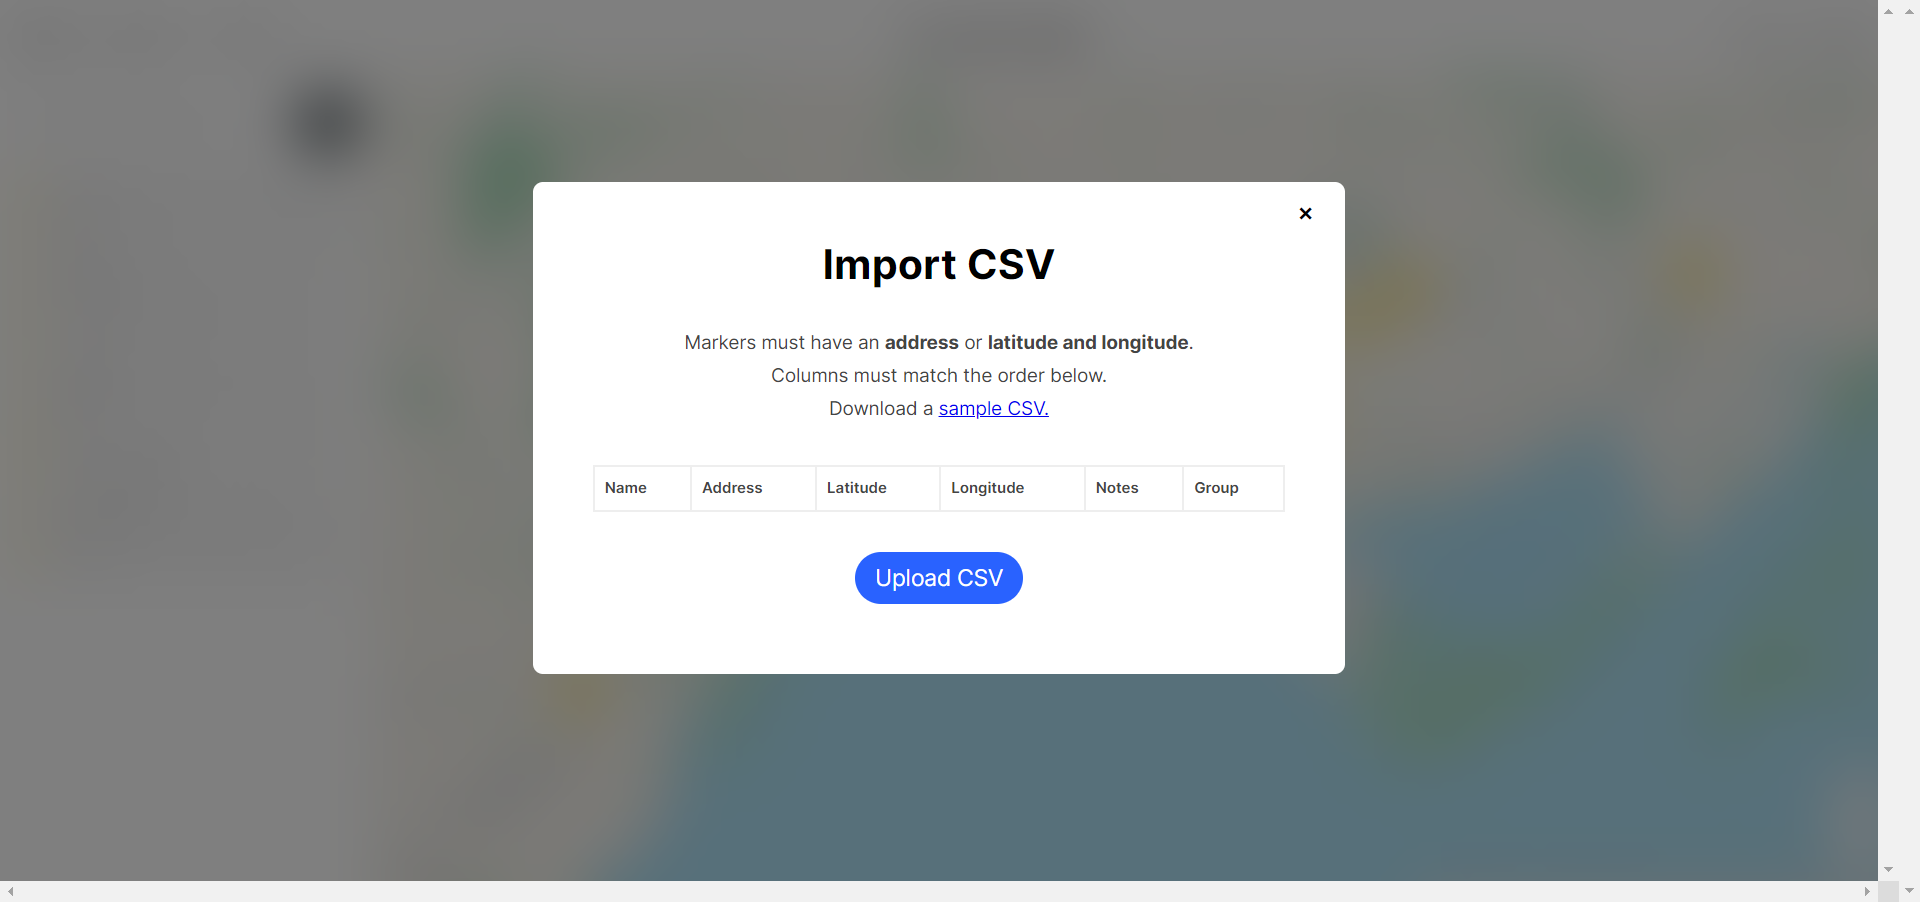
The Upload CSV button will open up your stored computer files where you can search and select the desired file…
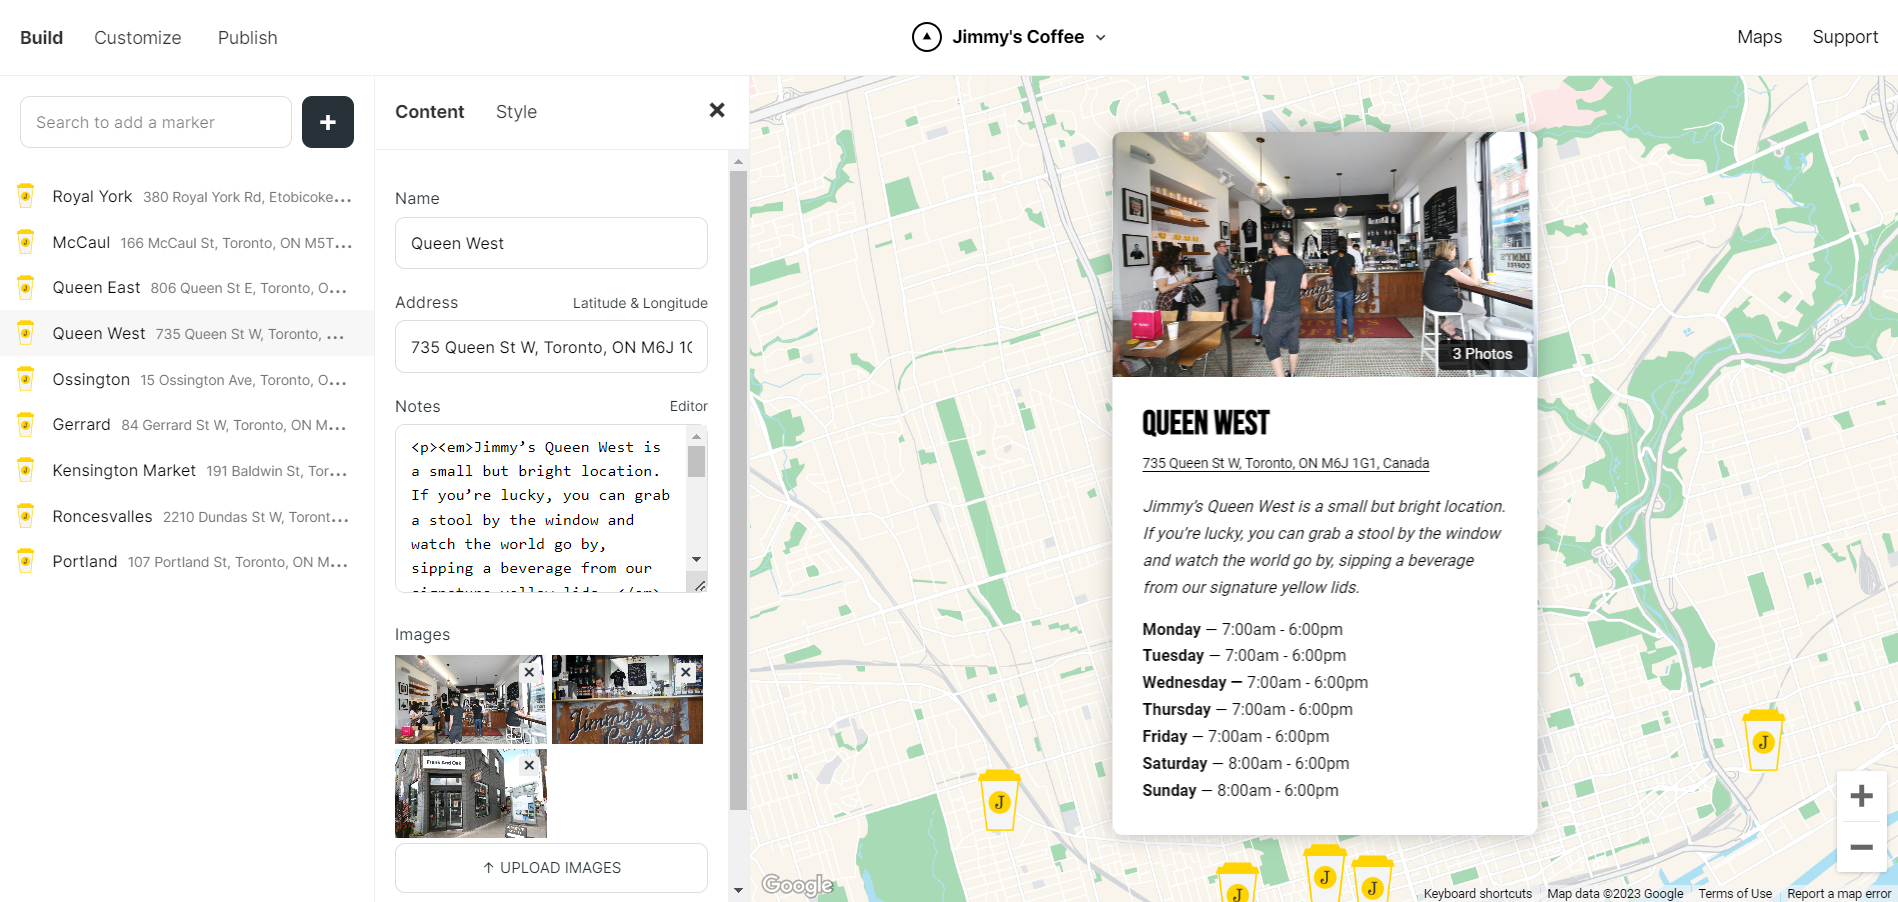
Bam! All of your addresses will be automatically uploaded to your Atlist map. If you click on any of the addresses, you’ll have the option to change information under Content. You can also add pictures of the location and adjust other Style elements.
Step 3. Customize Your Map
Check out the Customize tab for all sorts of unique changes. Browse through different shapes, layouts and color schemes. Choose elements that not only match your map vision, but elevate it!
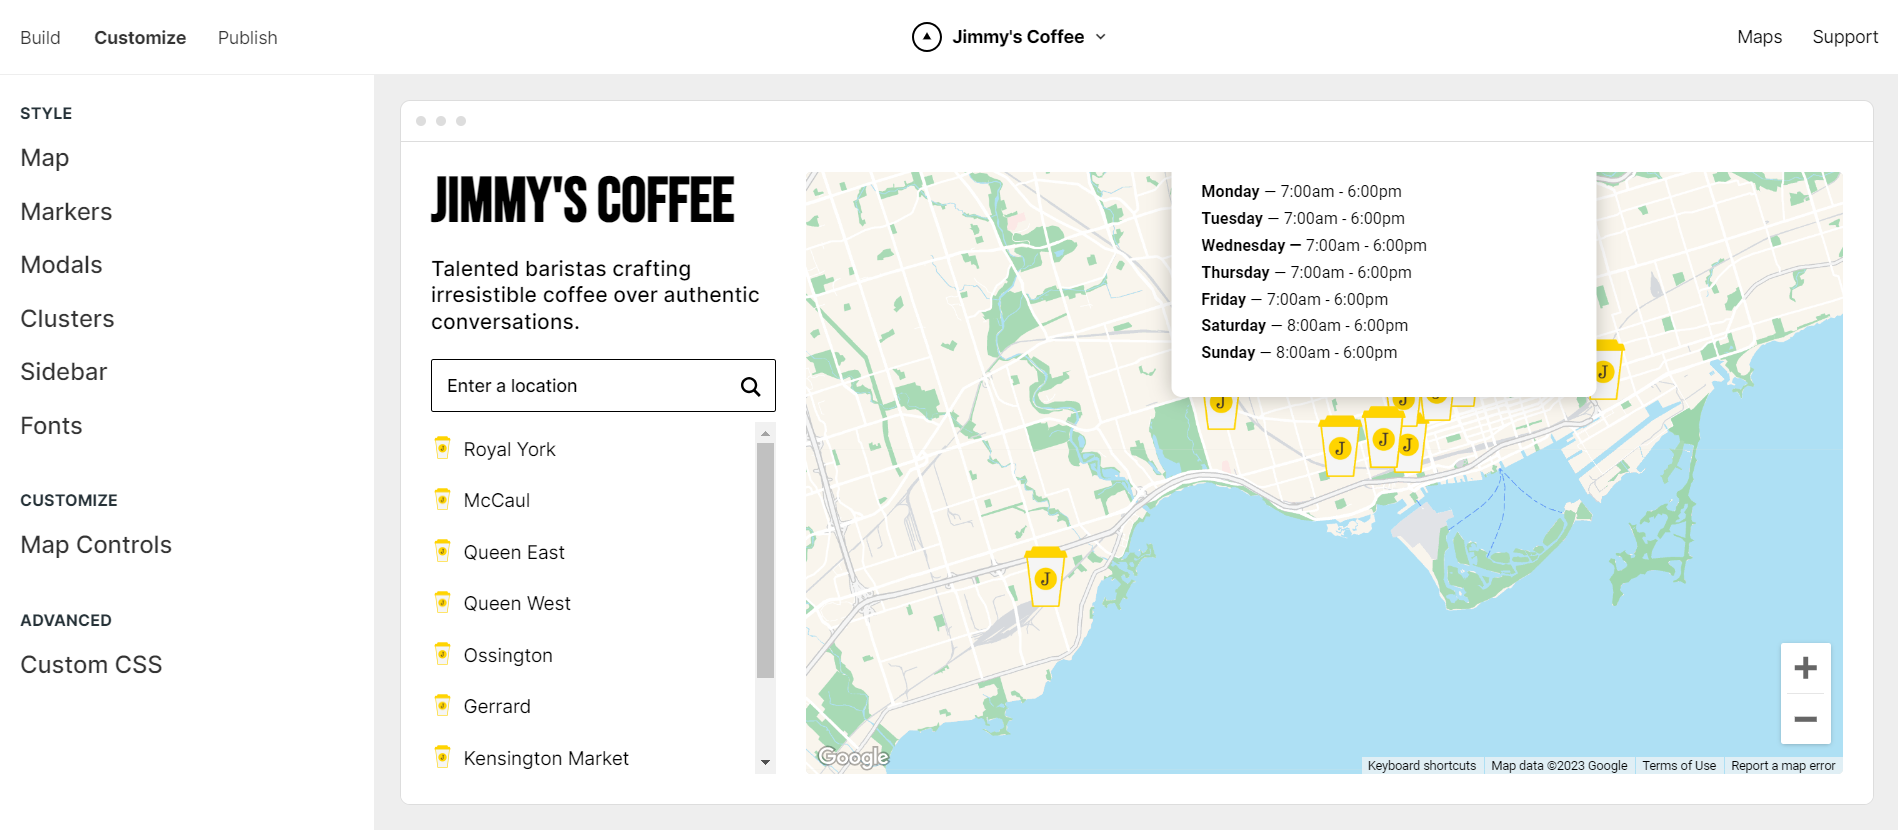
You can customize Map Markers...
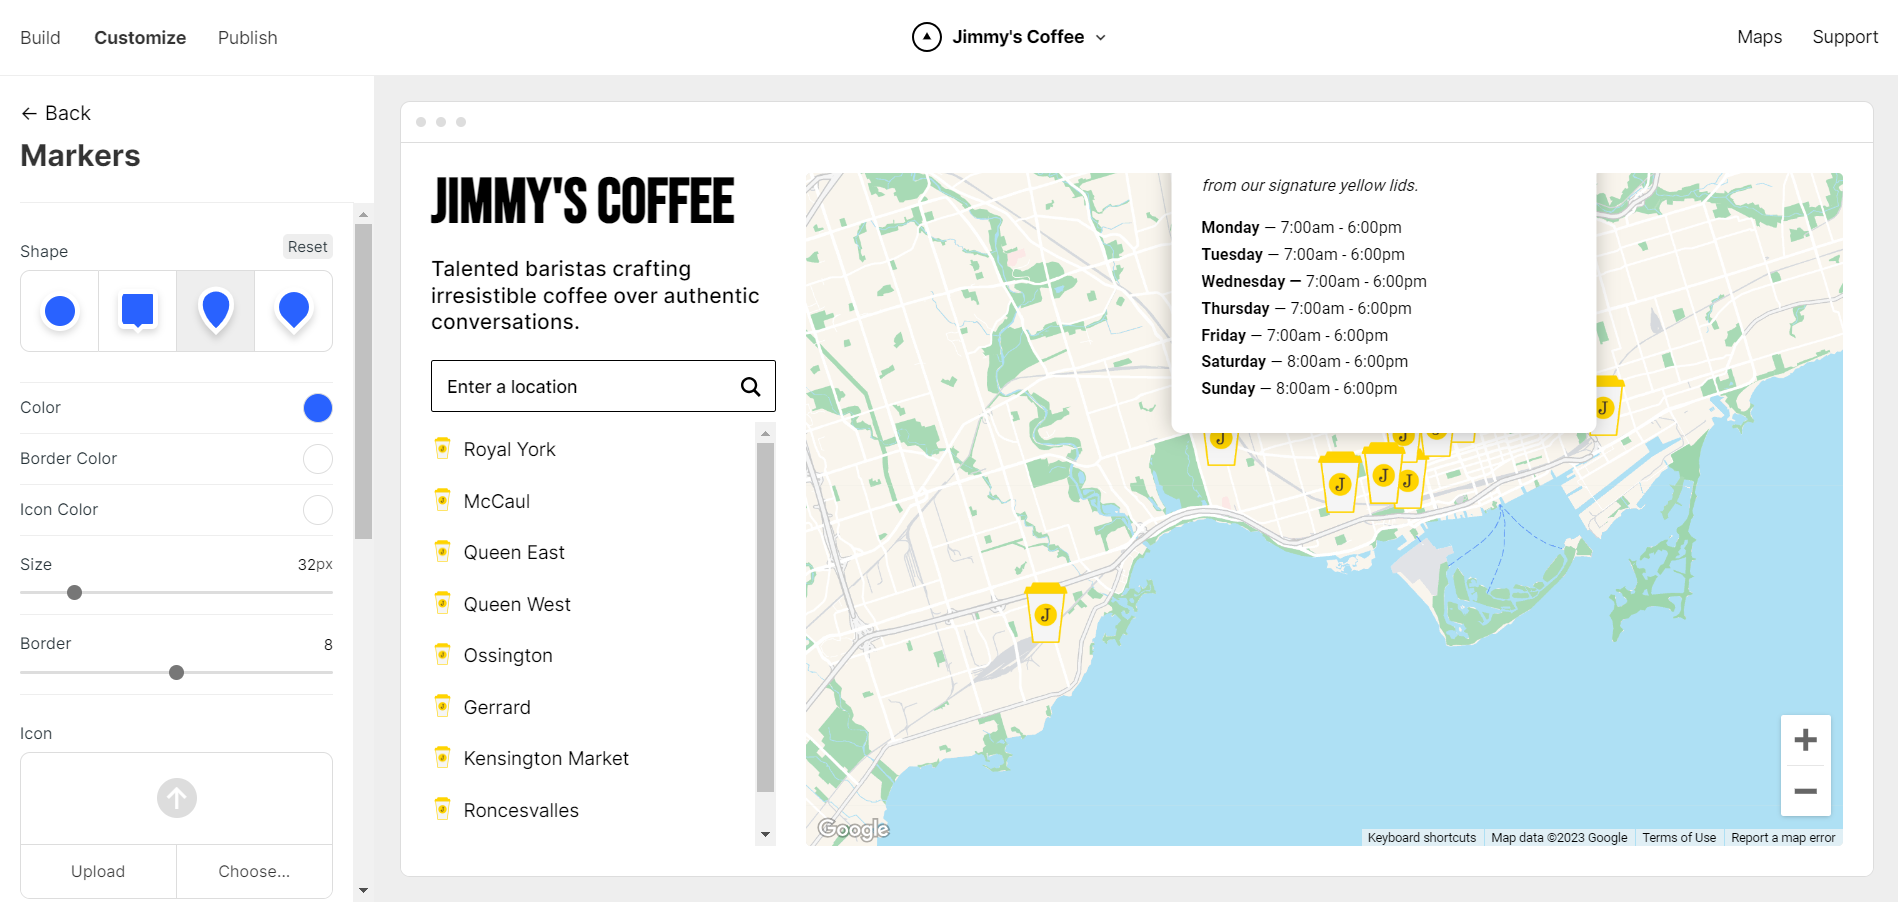
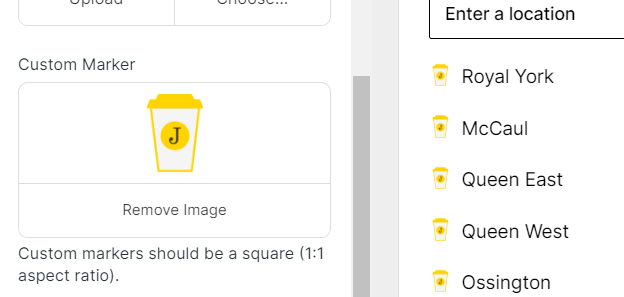
... upload Custom Icons…
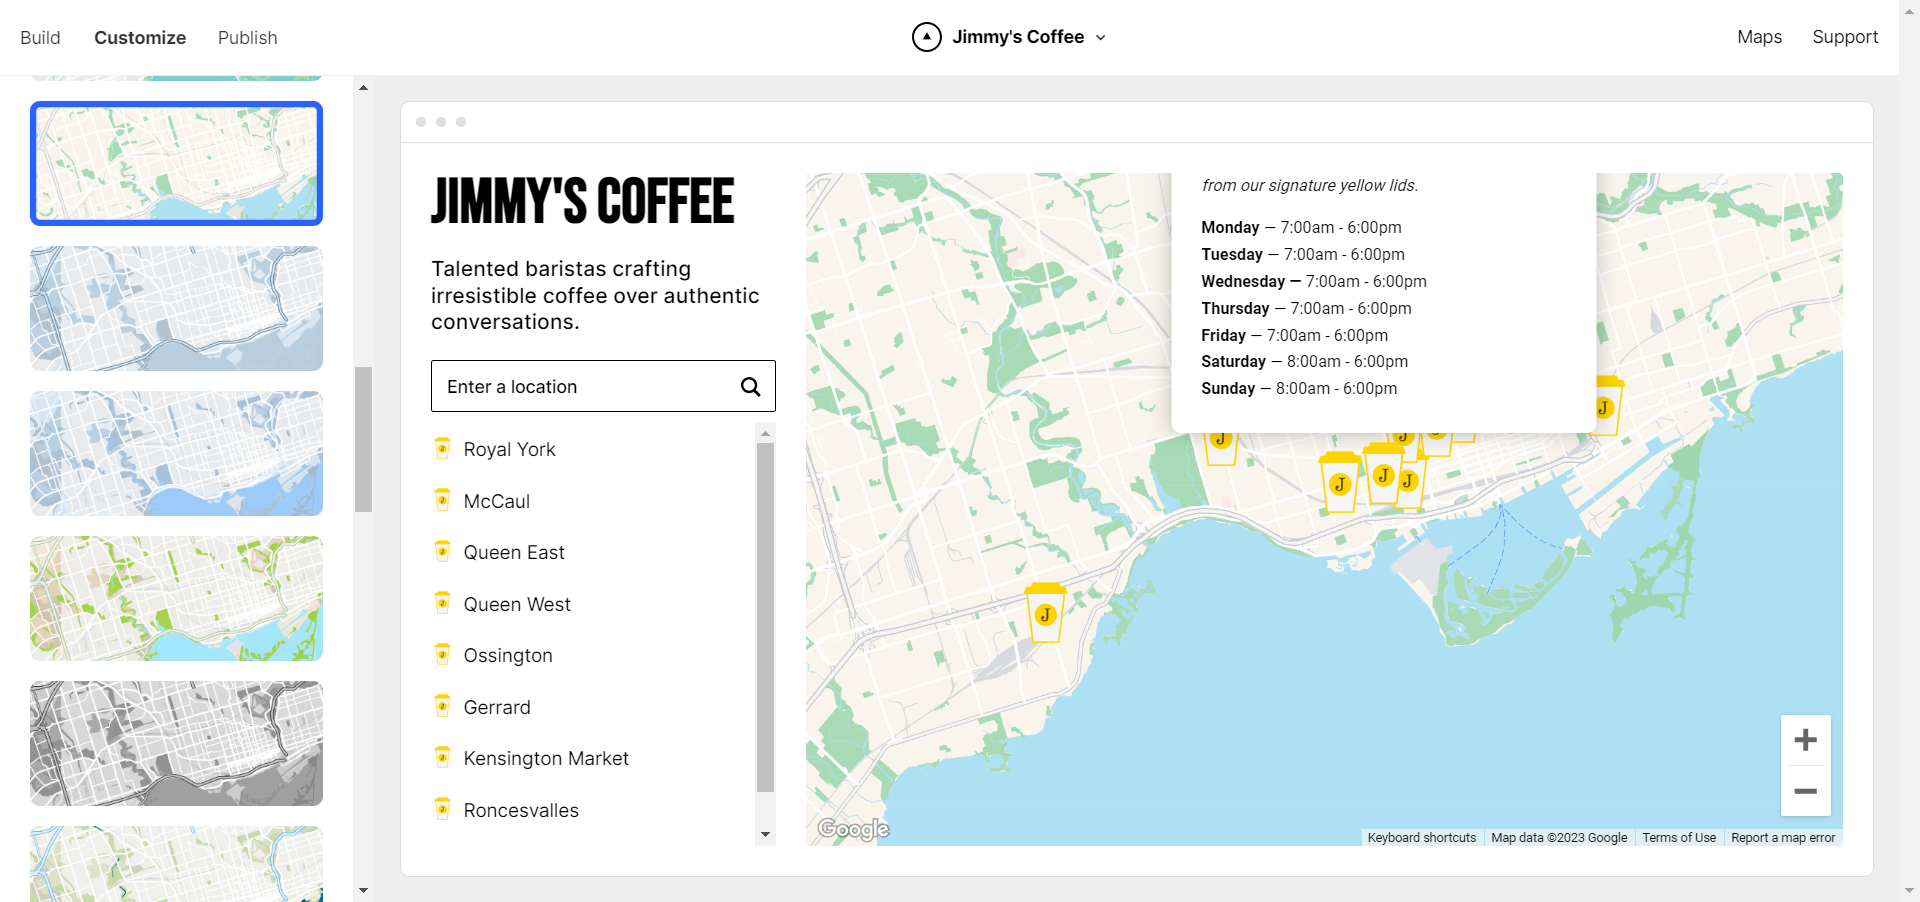
... and experiment with different Map Themes and Styles.
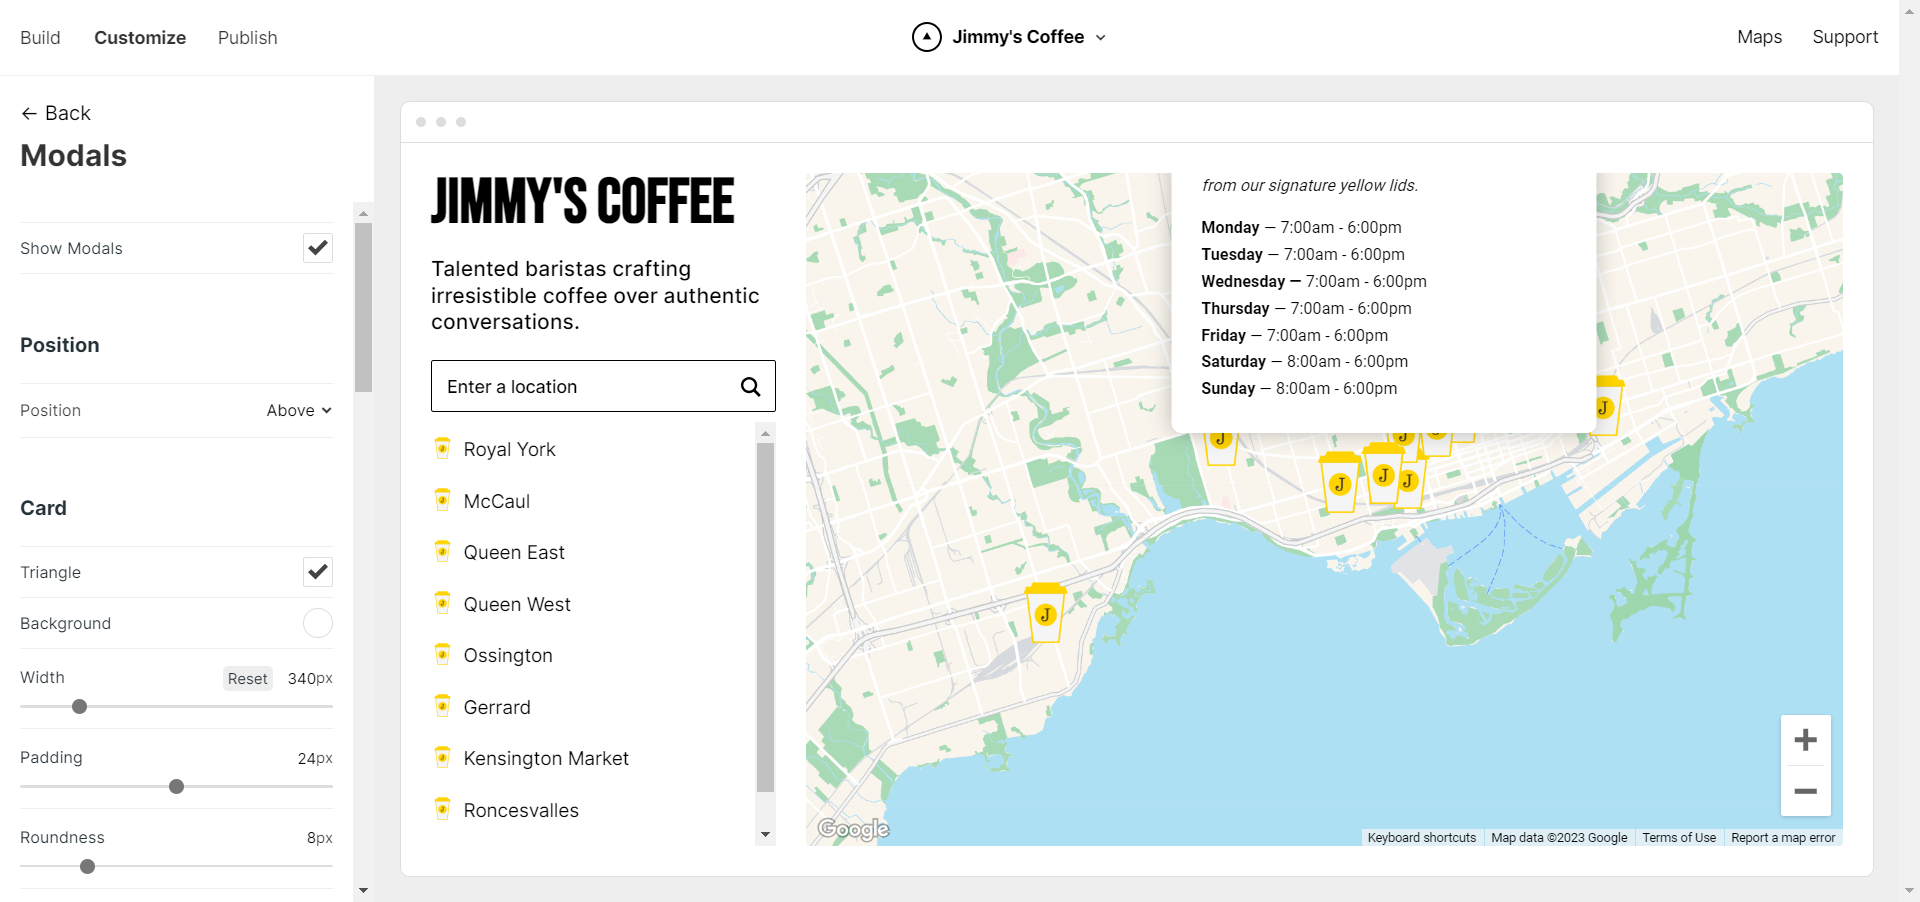
Customize Modals
The panel on the left will allow you to make changes to a variety of Modal elements such as the title, font size etc.
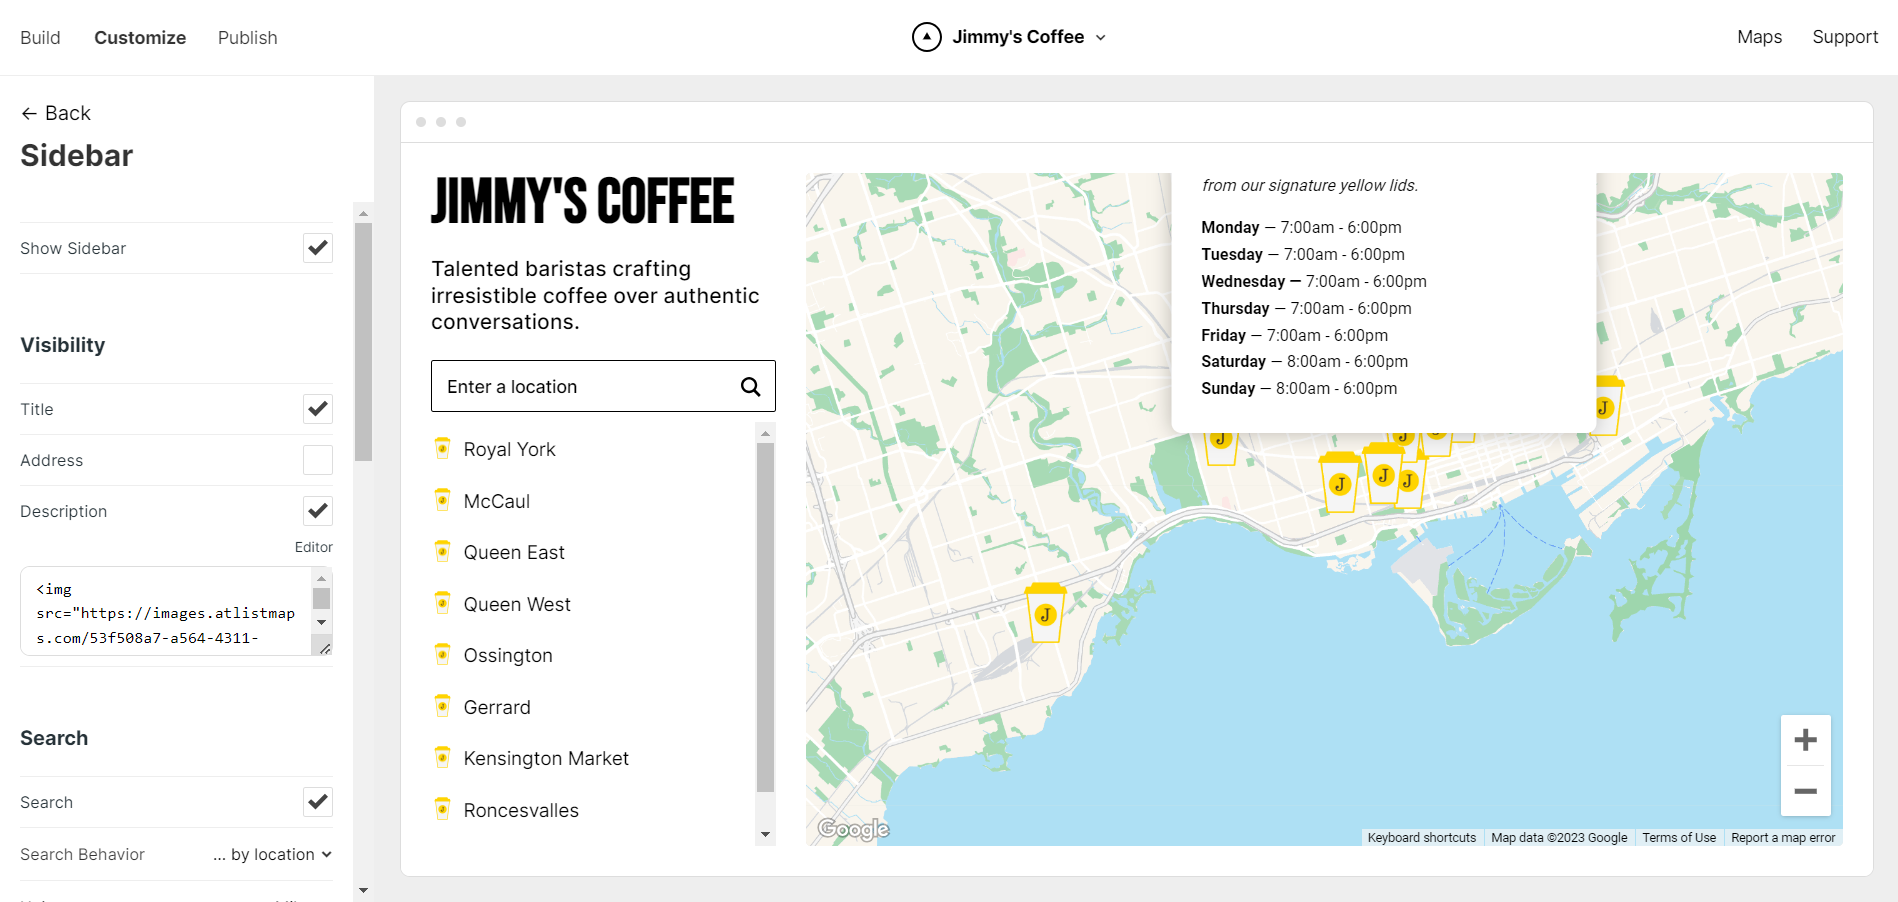
Customize & Turn On Sidebar
The sidebar is an important part of your Atlist map. Making it available allows viewers to search map locations that are closest to them, something we can all agree is a vital part of any map.
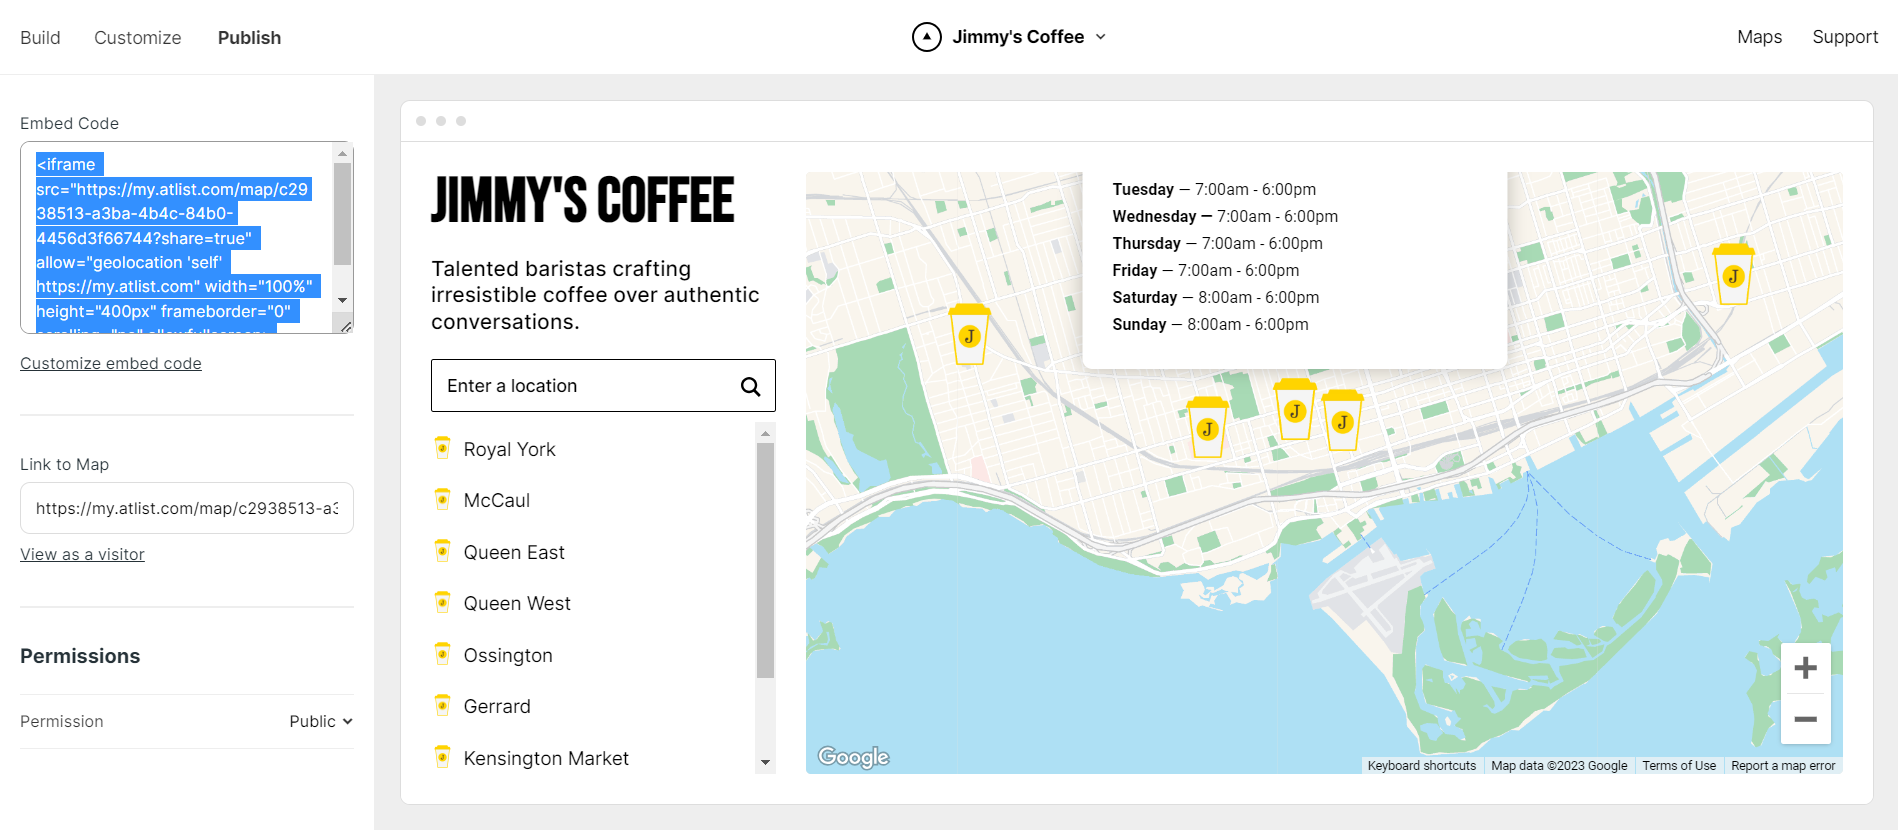
Step 4. Publish & Embed
Once you have played around a bit, make any last minute changes and get ready to publish! Clicking the Publish button allows the map to go live. It also provides the code you’ll need to display the map beautiuflly on your Wix site.
Copy the given code and hop over to your Wix website…
Head to GoDaddy
Navigation to the page in GoDaddy that you'd like to embed your map on.
Then we'll add a new Section — an HTML section. You can find it in the Files & Web category.
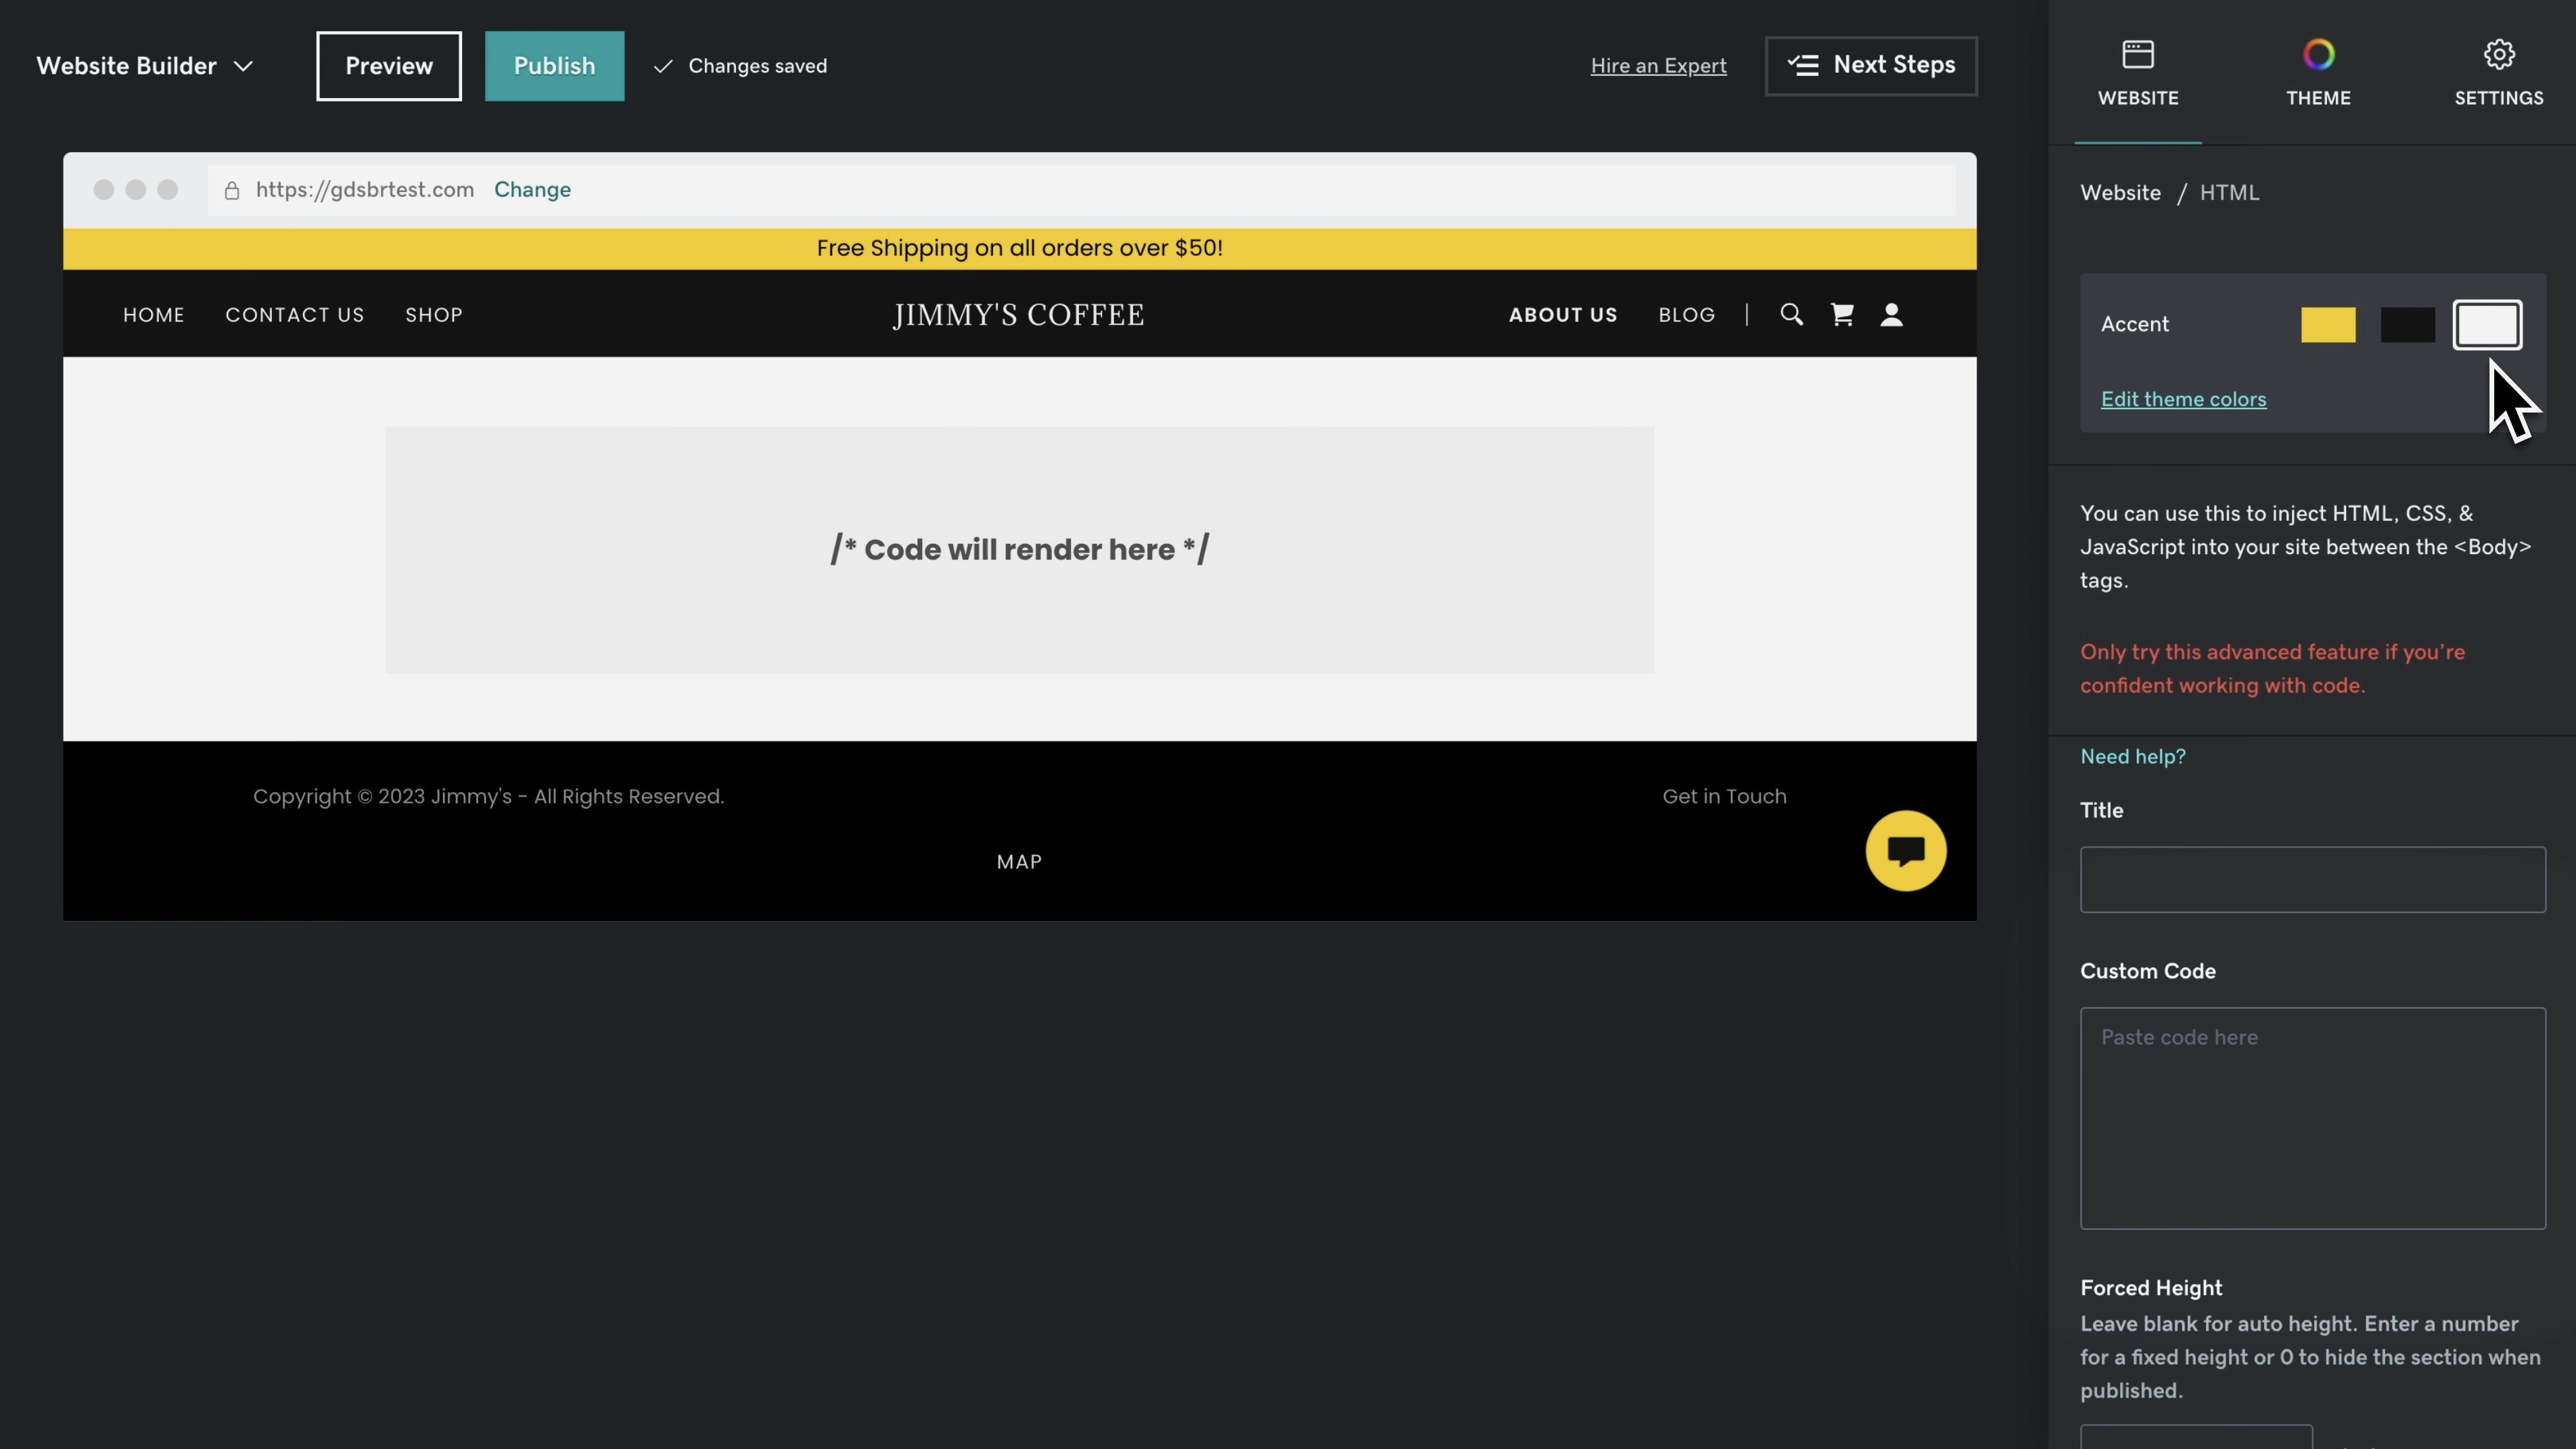
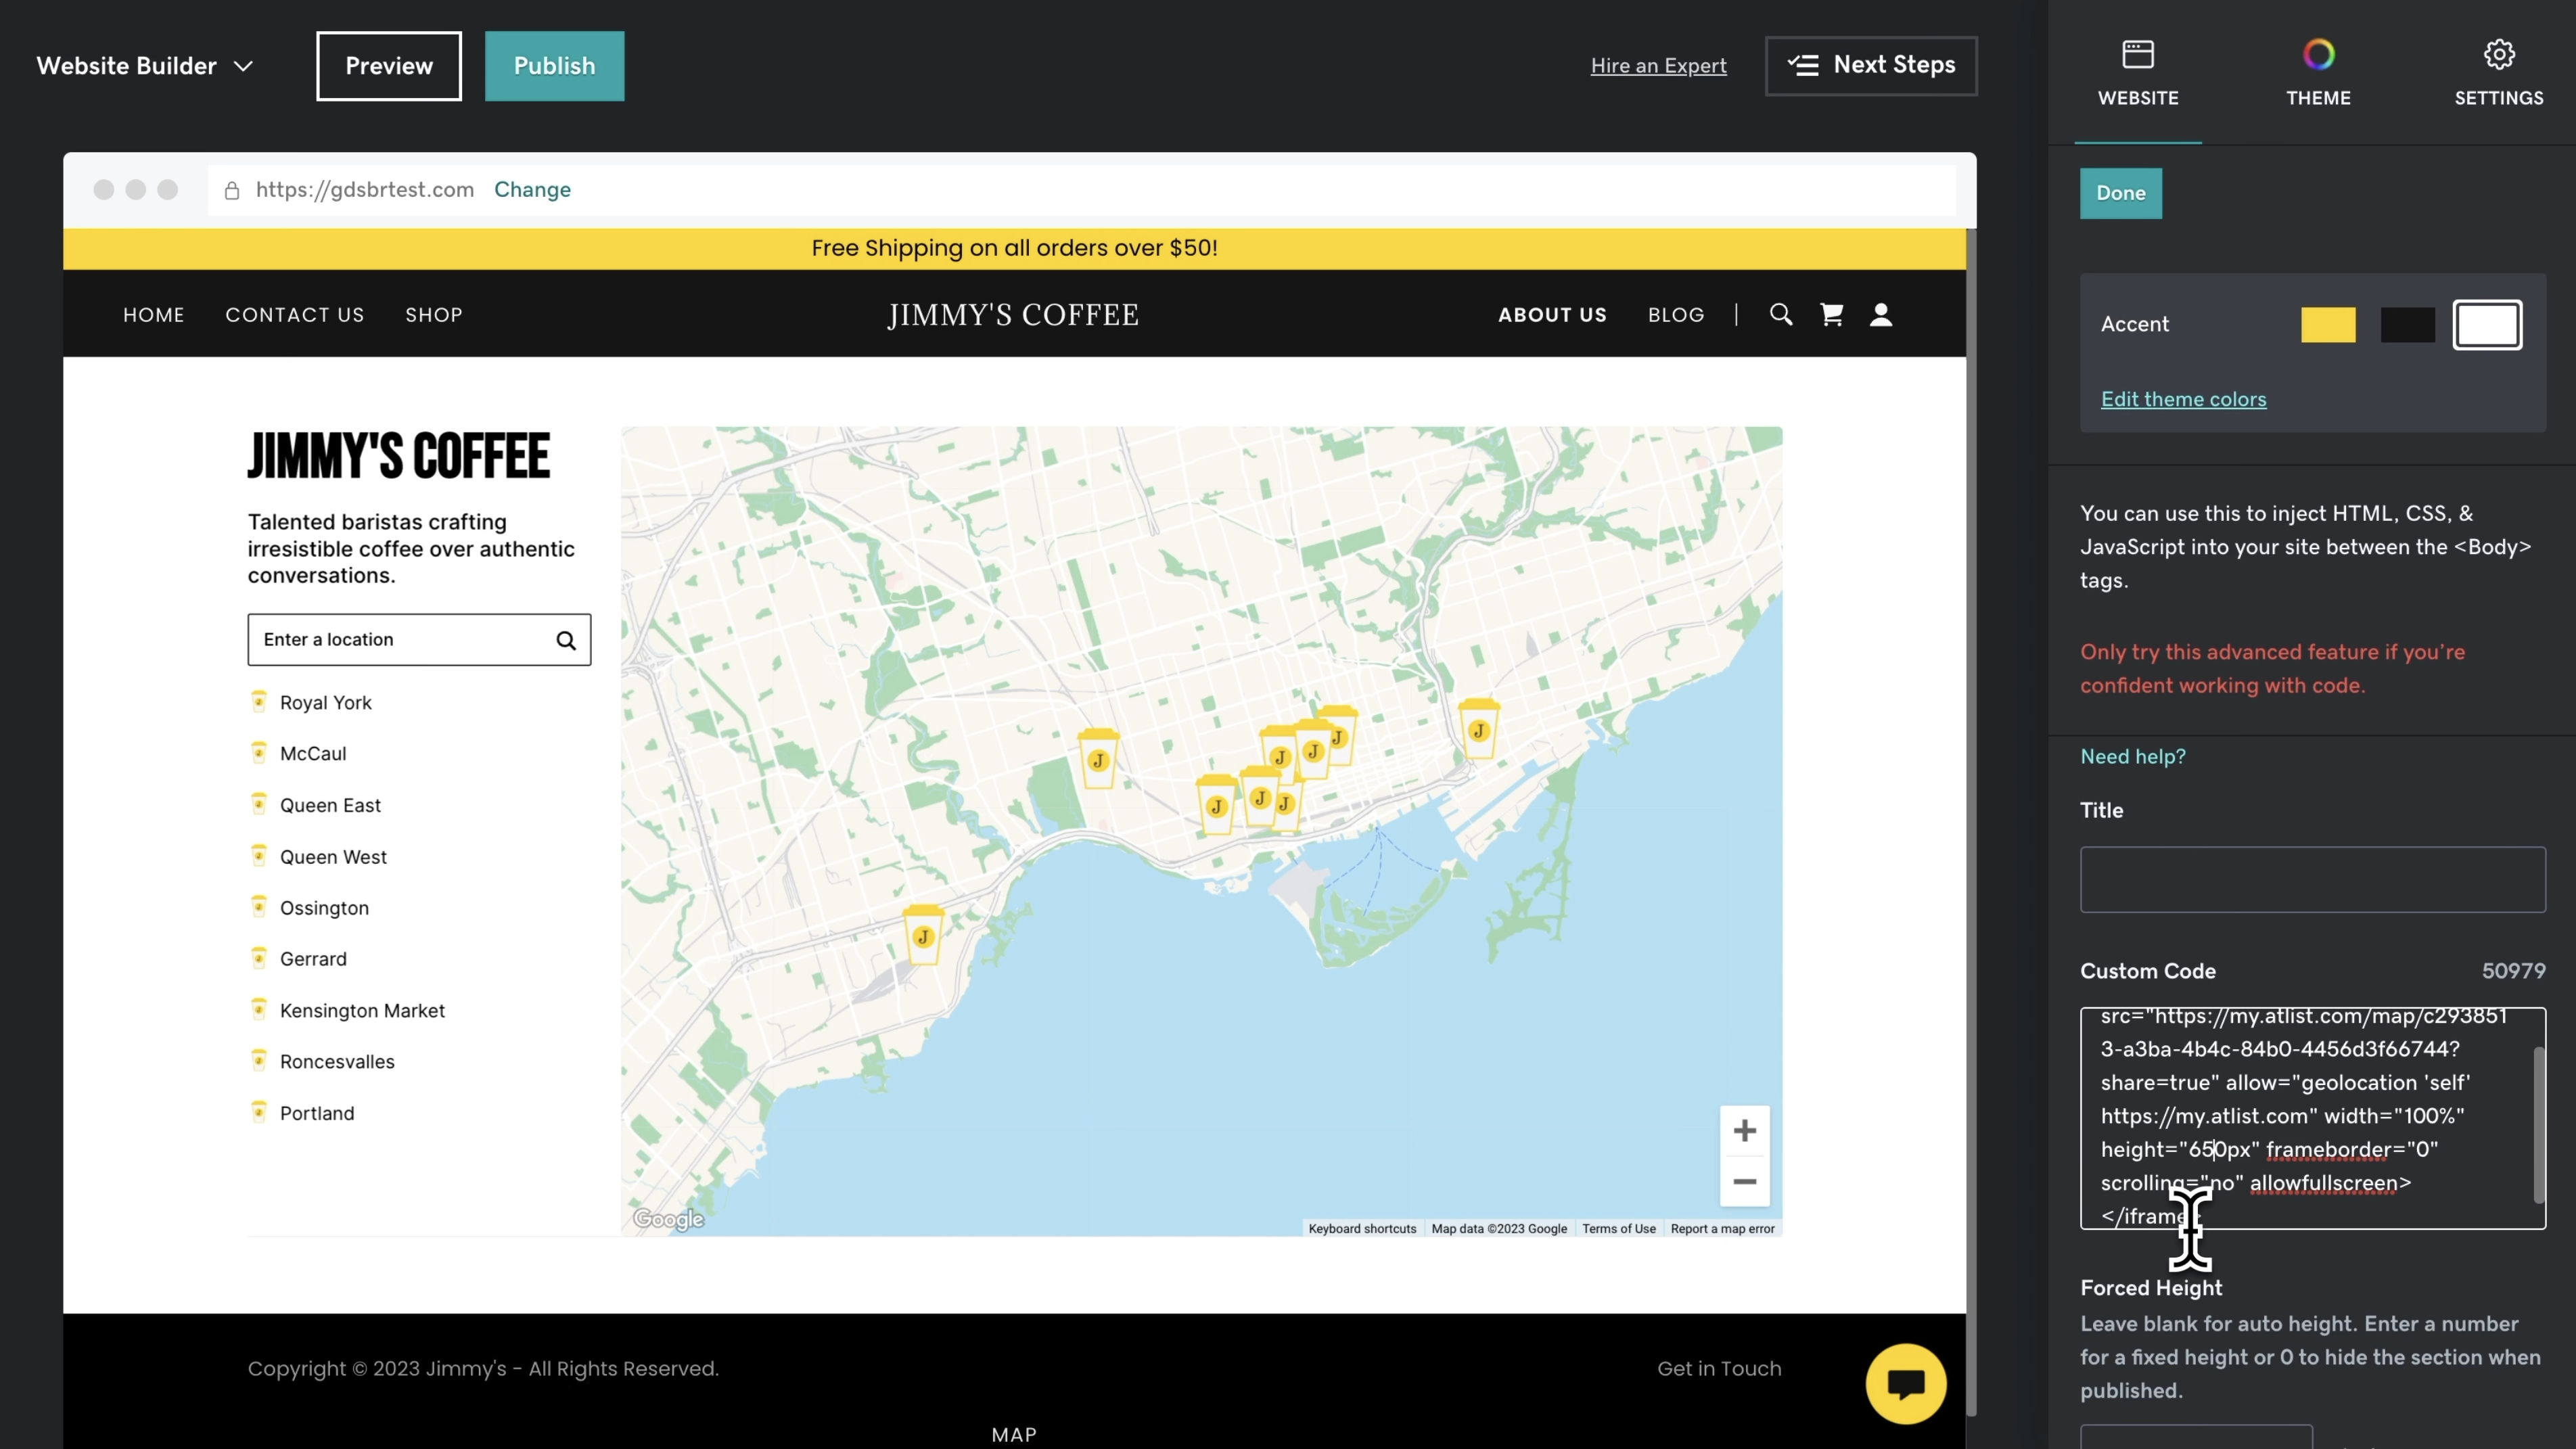
Then paste in the Atlist embed code:
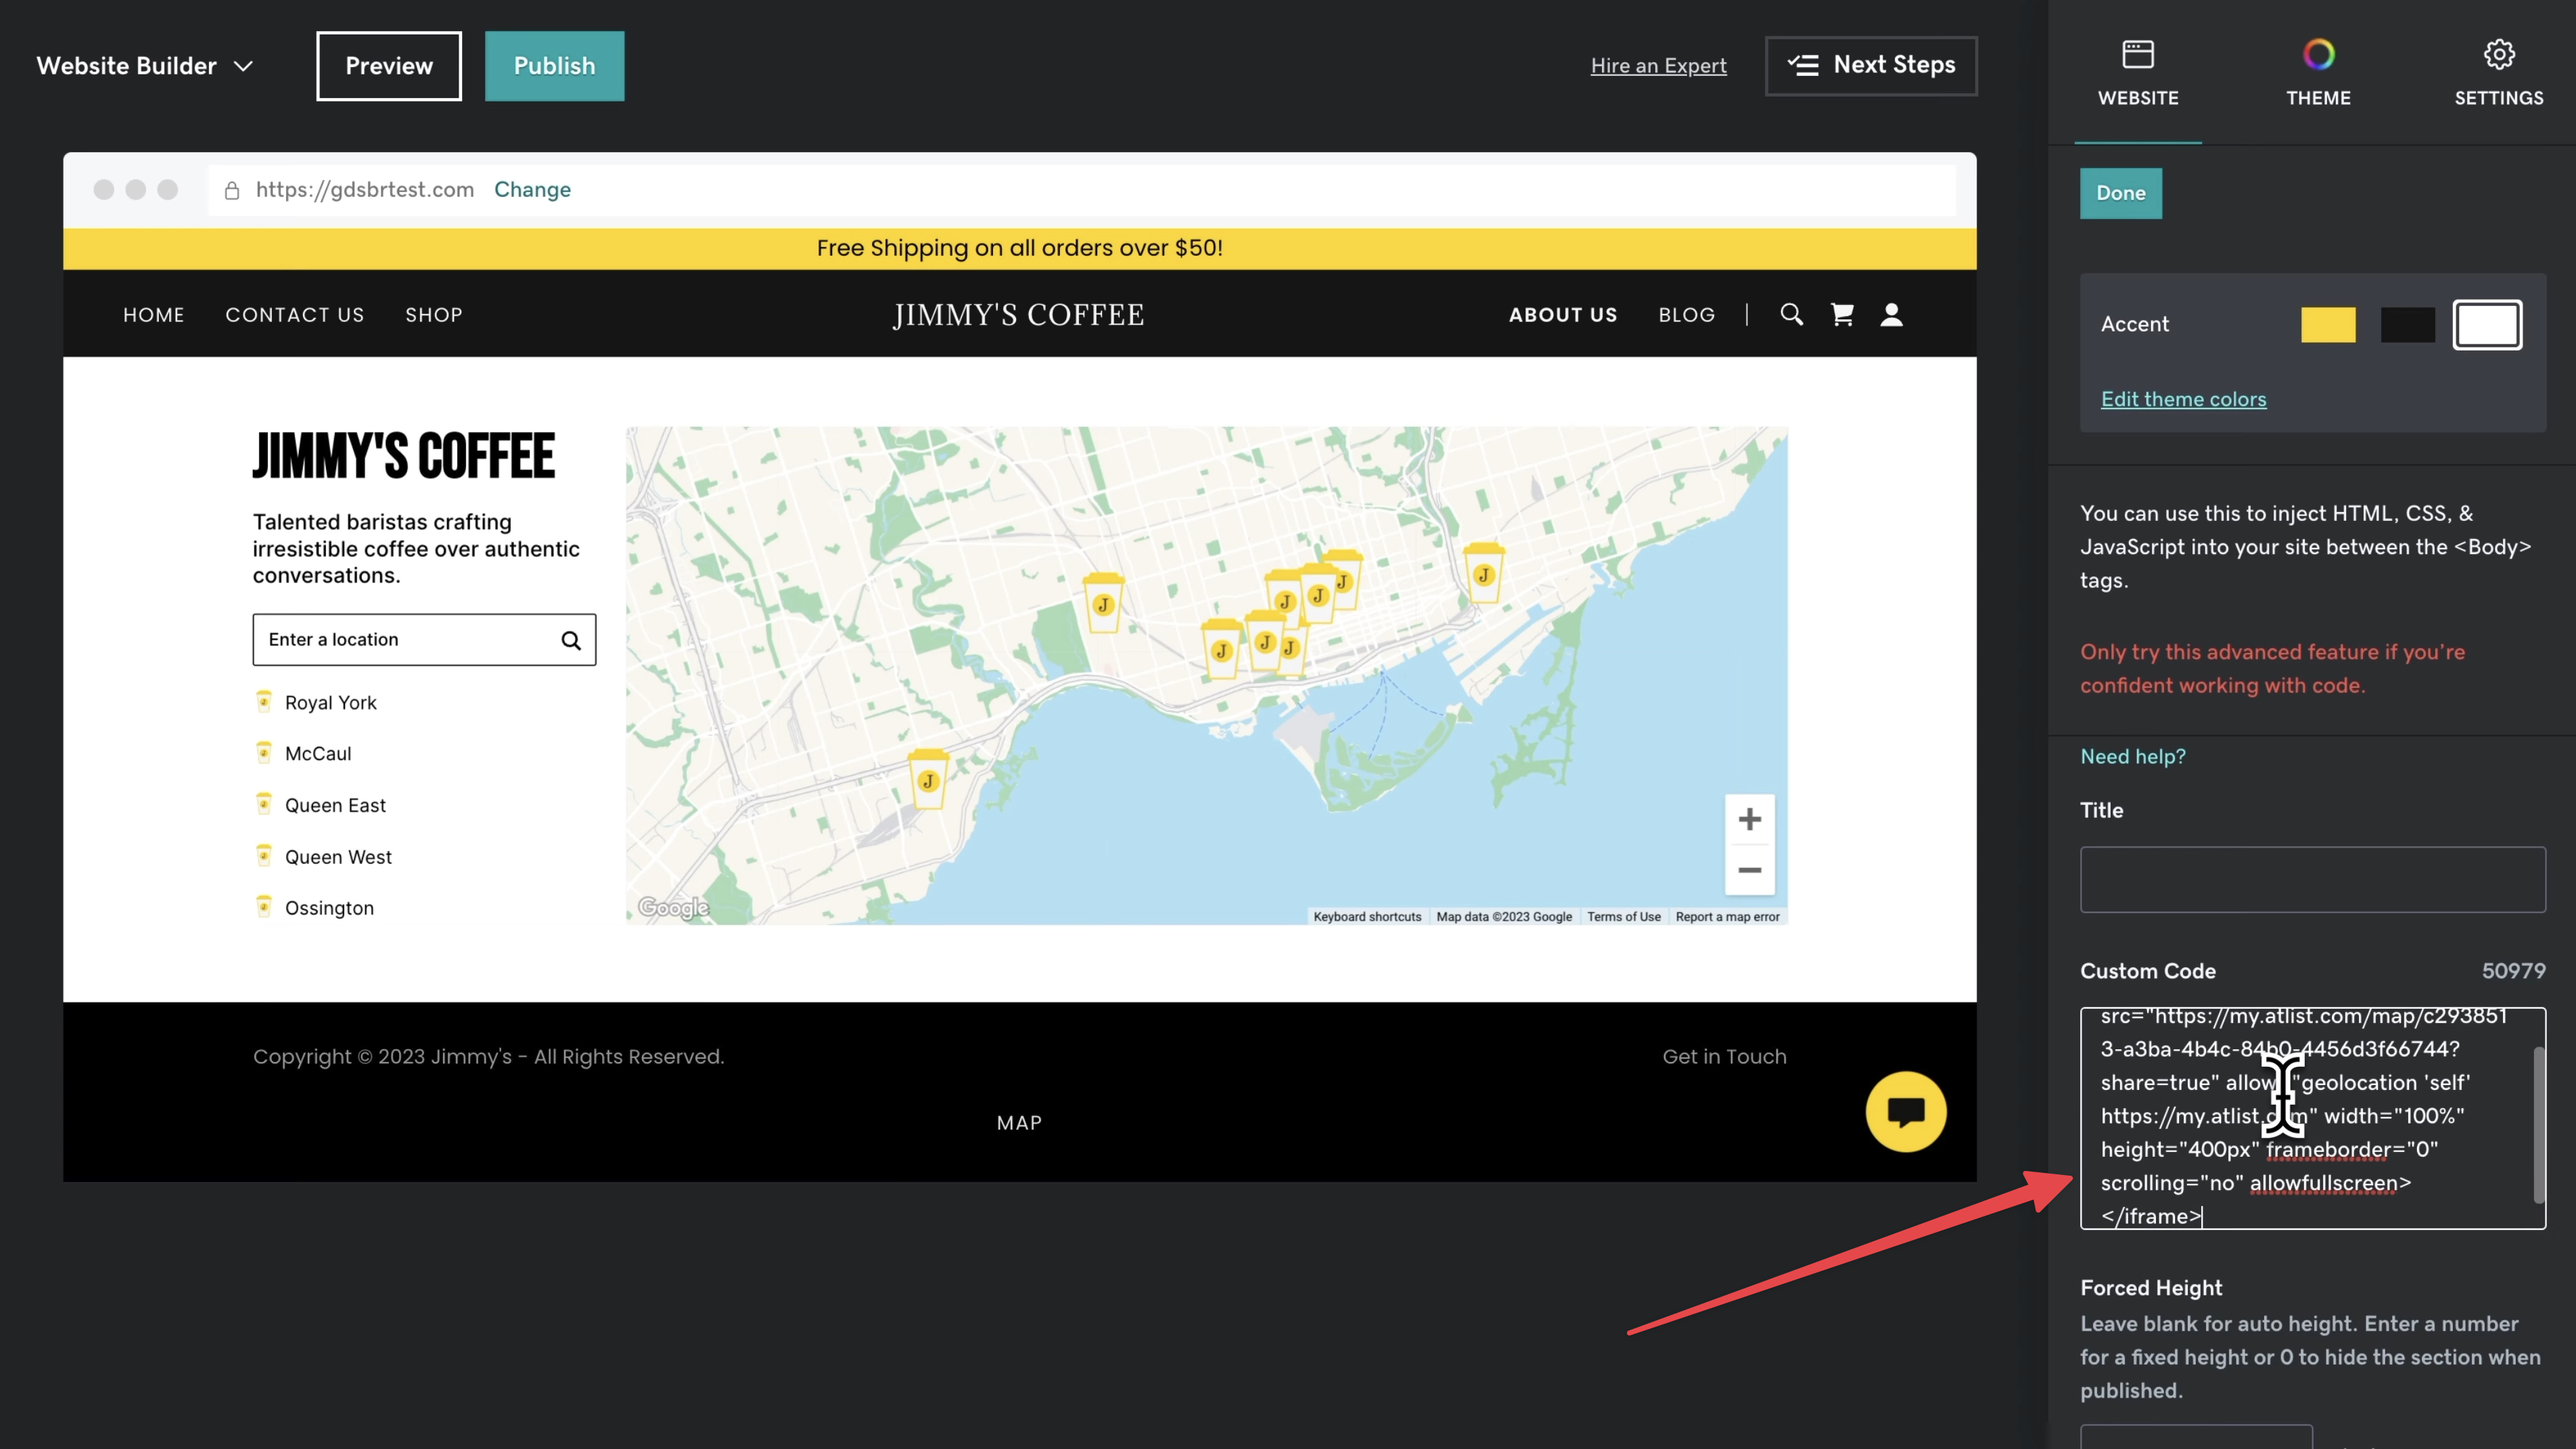
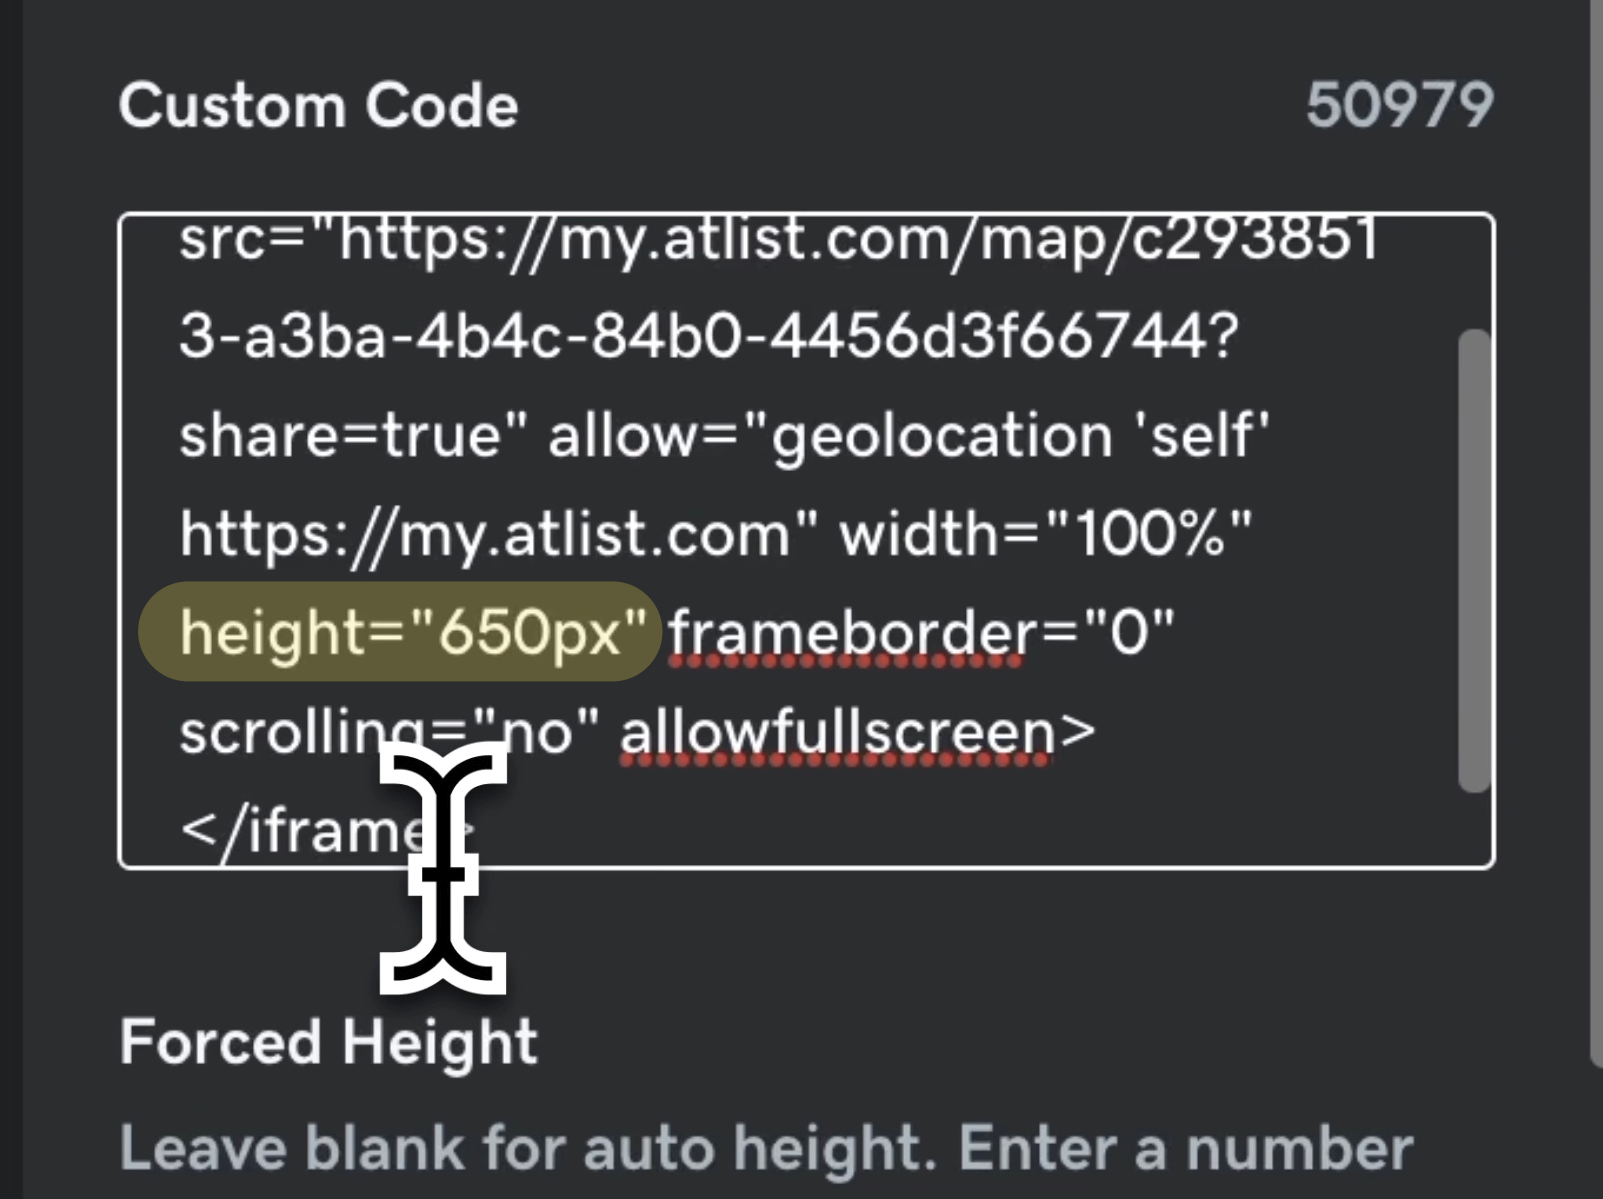
Before hitting the update button, we recommend manually adjusting the height in the code from 400px to 650px. This ensures the best layout and view of your Atlist map!
Then click Publish and your map will be live on your GoDaddy website!
Enjoy!